



How to Set Up Taboola Conversion Tracking
Someone asked in a media buying group recently whether anyone could help set up Taboola conversion tracking. The consultant they had been using wanted a lot of money for it, and their instinct was that it could not be that complicated. Another member replied that he had never run Taboola but, quote, how hard can it be.
Nobody answered the actual question.
The install genuinely is not that complicated. It takes about twenty minutes for most setups. What is complicated, and what almost nobody explains, is how to read the numbers afterwards, because Taboola reports conversions in a way that is different from every other platform you use and it makes recent campaigns look worse than they are.
This covers both. All of it comes from Taboola's own developer documentation.
The two ways Taboola conversion tracking works
There are only two. Everything else is a variation on one of them.
The pixel. A snippet of JavaScript on your pages that fires when someone does something you care about. It is client-side, so it runs in the visitor's browser, and Taboola calls it the recommended method for most advertisers.
Server to server, or S2S. Your server, or a platform you already use, sends the conversion data straight to Taboola. No browser involved.
Taboola's stated best practice is to use both where you can, because they cover for each other. A browser can block the pixel. A server cannot tell you what someone did on a page that has no server event.
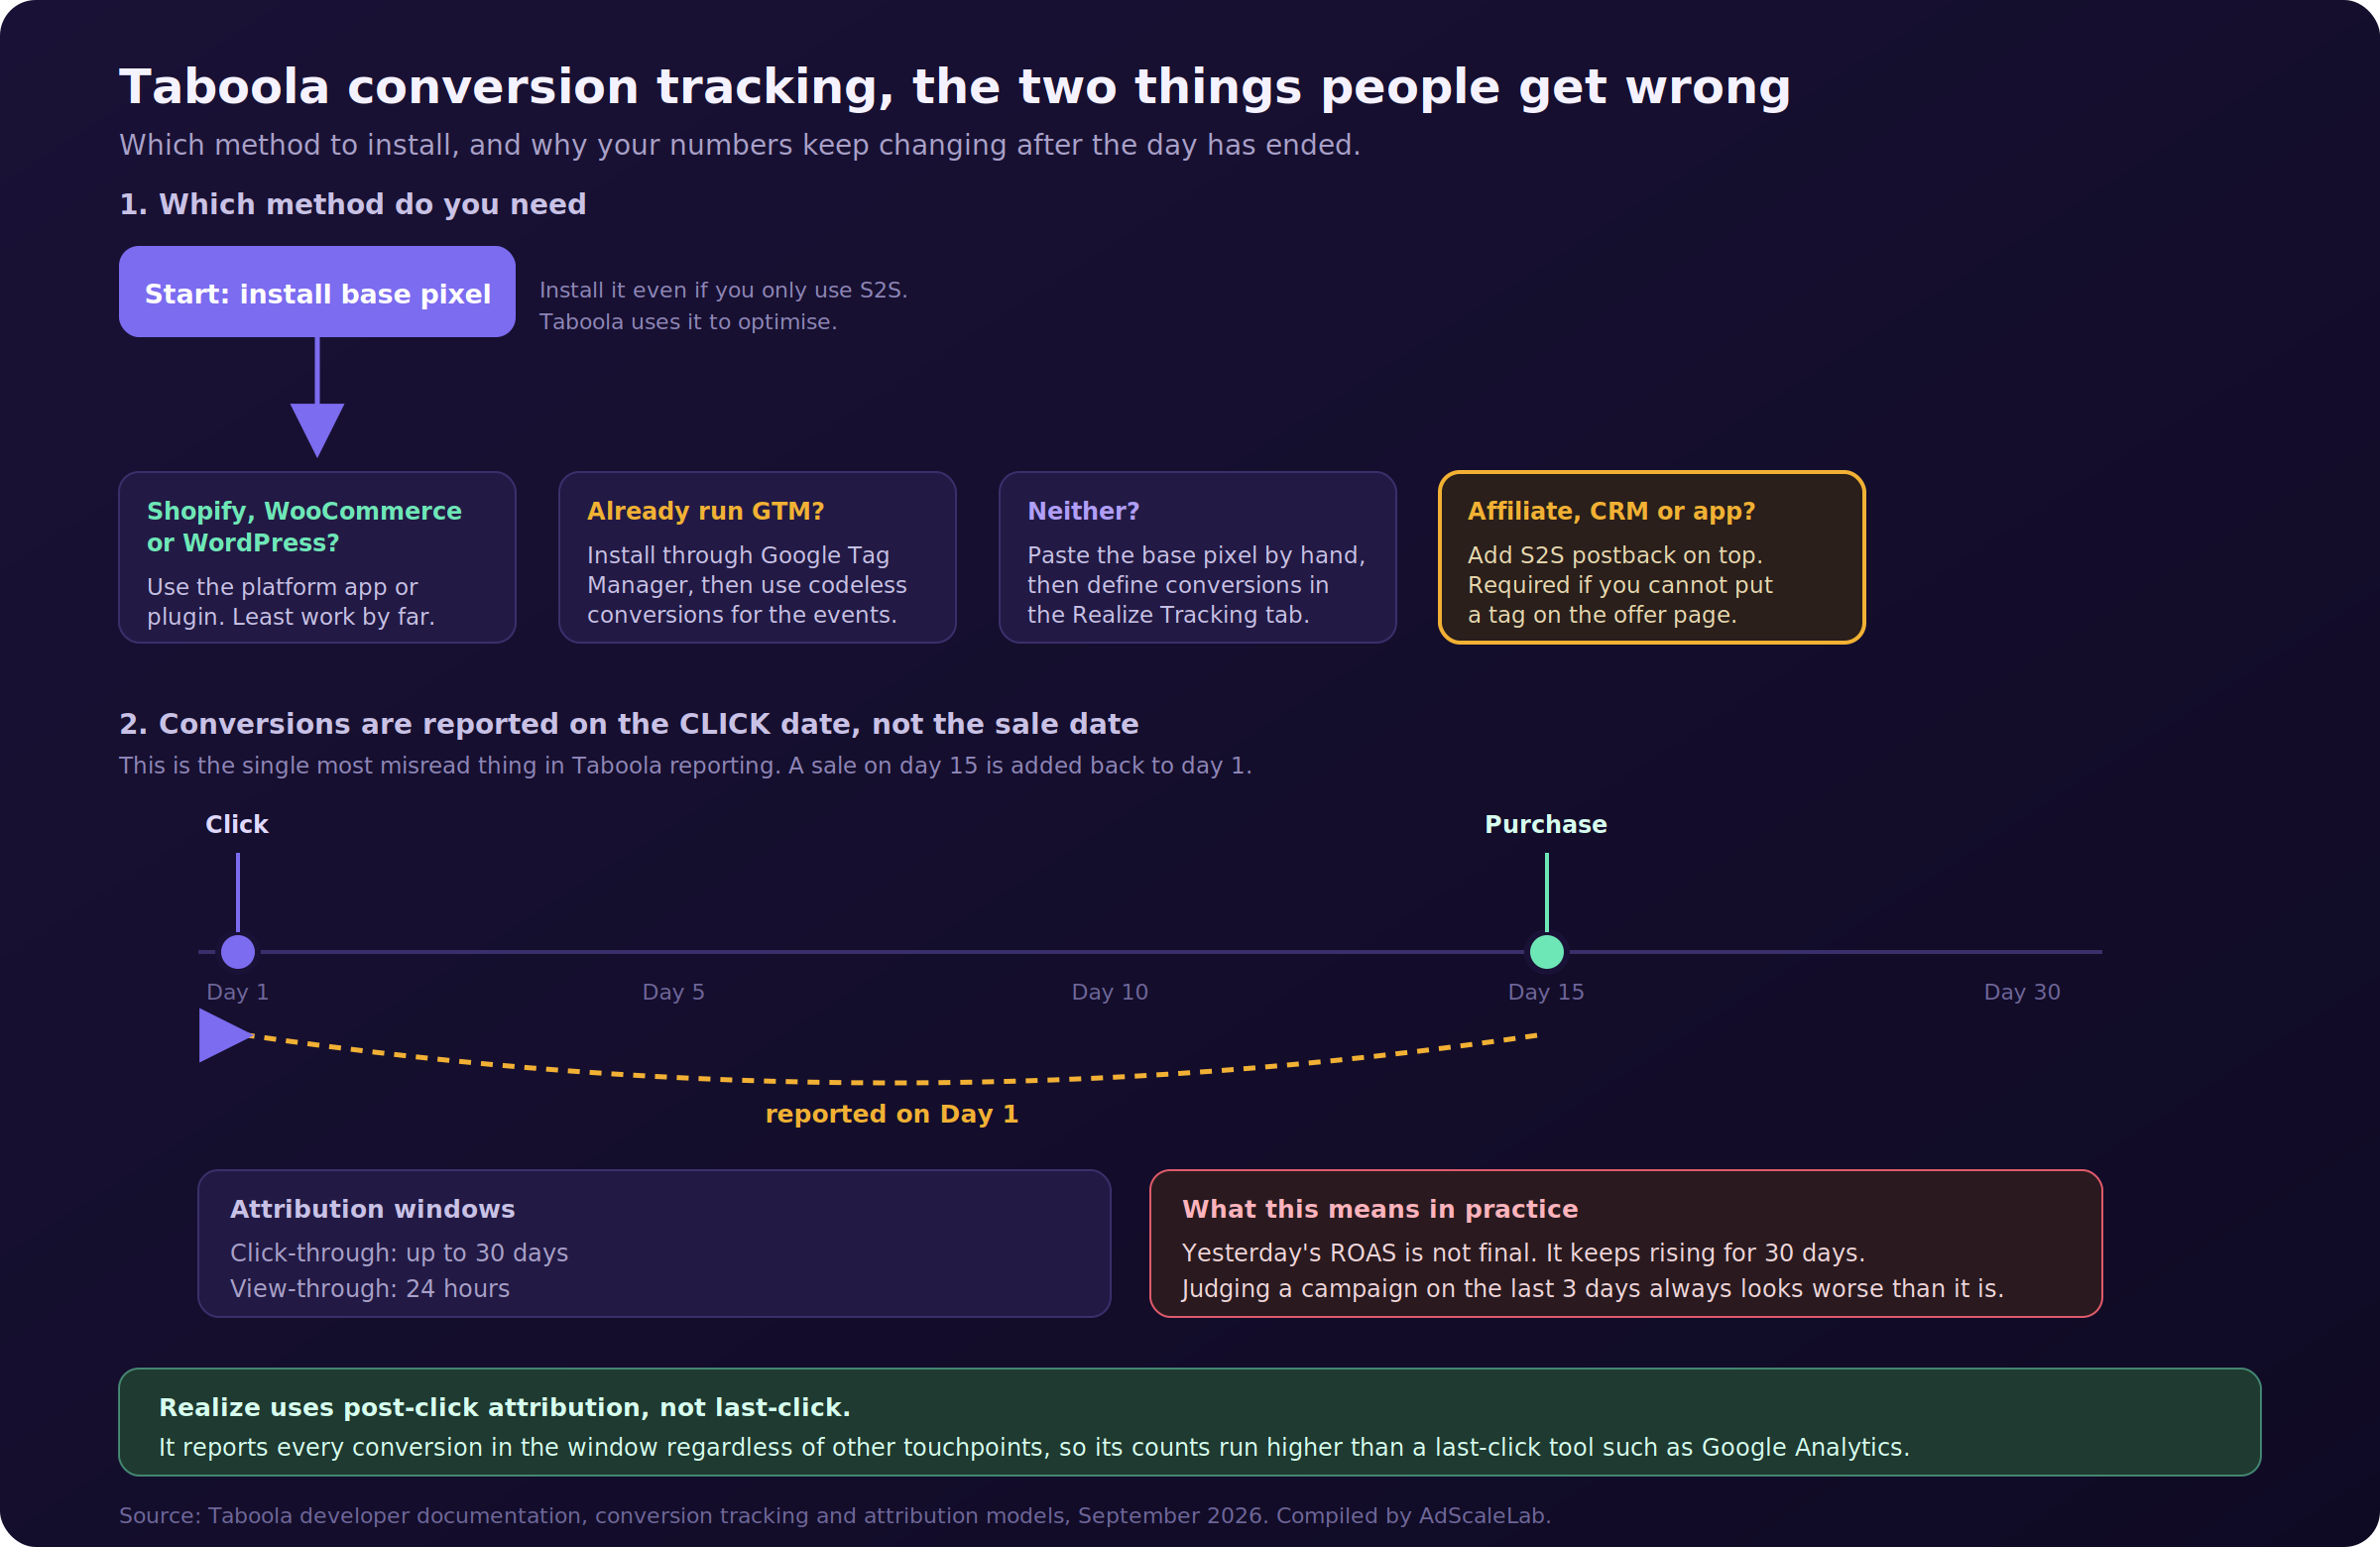
There is one instruction worth following even if you plan to use S2S only: install the base pixel anyway. Taboola's documentation says explicitly that this helps it optimise your campaigns. The pixel feeds the algorithm even when the conversions are arriving by another route.
Which Taboola conversion tracking method you need
Work down this list and stop at the first one that applies.
If you run Shopify, WooCommerce or WordPress, use the platform integration. Taboola has a Shopify app in the Shopify marketplace, a WooCommerce integration, and a WordPress plugin for the base pixel. The Shopify app installs the pixel and creates the standard ecommerce conversions for you. This is by far the least work and the fewest things to get wrong.
If you already use Google Tag Manager, install the base pixel through GTM. Taboola provides both a tag template and a custom HTML route, and its docs recommend GTM for existing users because it needs no direct code changes to your site.
If neither applies, paste the base pixel into your pages manually, then define your conversions in Realize.
And separately, if you are an affiliate, take phone orders, or run an app, you will need S2S regardless of the above, for reasons covered further down.
Step by step, the pixel route
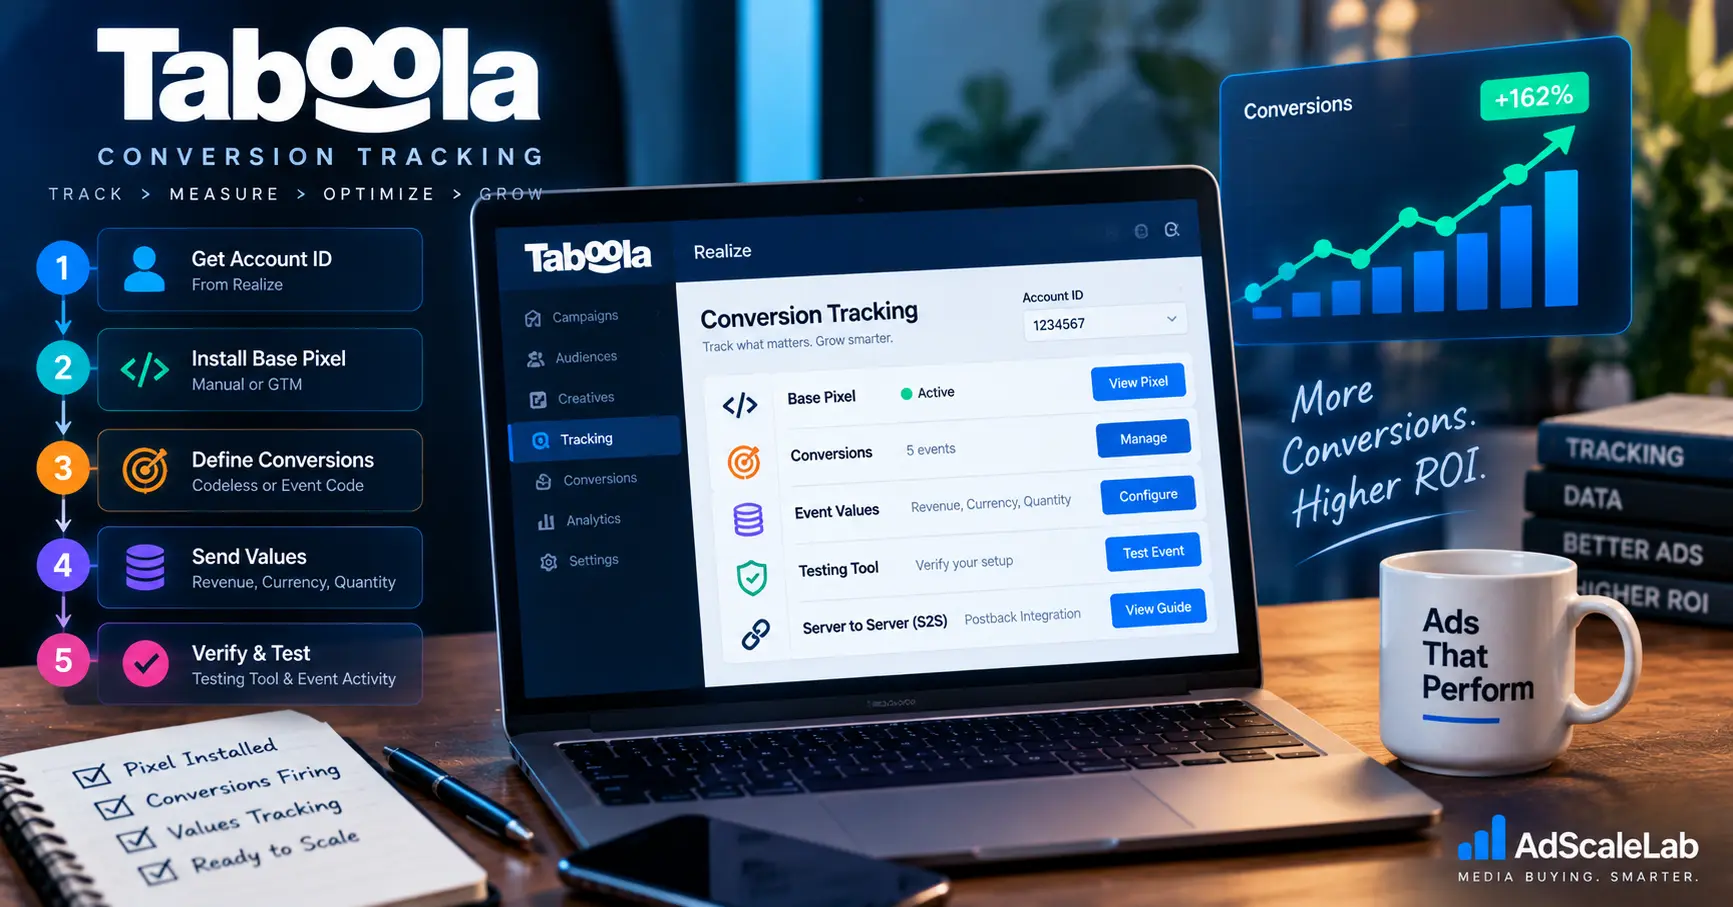
Step 1: Get your Taboola Account ID
You need the numeric account ID. It appears in Realize and it goes into every version of the pixel snippet. If you are setting up tracking for someone else's account, this is the first thing to ask for.
Step 2: Install the base pixel
In Realize, go to the Tracking section in the left sidebar, make sure the correct account is selected at the top left, and follow the setup. You can choose to install manually, which gives you a snippet to copy, or through GTM.
The base pixel goes on every page of your site. Not only the conversion page. Taboola can email you the snippets if you need to hand them to a developer.
One note if you run a single page application: Taboola has separate instructions for SPAs, because a normal page-load pixel will only fire once on a site that never reloads.
Step 3: Define your conversions
Still in Realize, under Tracking, select Conversions. This is where you create the actions you want counted.
The fastest route here is codeless conversions, which lets you set up conversion tracking through the Realize interface without touching code or GTM. The only prerequisite is that the base pixel is already installed. For most advertisers this is the right choice, and it removes the most common source of error, which is hand-written event code.
If you need something codeless cannot handle, you can attach event code to a specific HTML element for an inline action. One warning from the documentation that catches people out: if the Taboola pixel is not installed on that page, your event will not be recorded. The event pixel depends on the base pixel being present.
Managing several accounts? There is a network-level option that lets one set of conversion rules cover every account in your network. You have to create those conversions under your Network Account in Realize, not under an individual account.
Step 4: Send the values, not just the event
This step turns tracking into something you can actually use for ROAS.
A conversion that just says "a purchase happened" tells you your CPA. A conversion that carries revenue, currency and quantity tells you your return. Taboola calls these dynamic conversion values, and its guidance is to send at least revenue, currency and quantity, plus an order ID for purchase events.
Without these, every sale is worth the same to the algorithm, which means your automated bidding cannot tell a $40 order from a $400 one.
Step 5: Verify before you spend
Taboola provides a Testing Tool for this. Use it. Do not assume. There is also an Event Activity view, a Chrome extension, and you can check network traffic in Chrome DevTools directly.
Do this before you launch. A campaign running three days on a broken pixel is a donation, not a test.
The S2S route, and the exact postback format
You need S2S in four situations, and one of them applies to a lot of readers here.
- For better coverage alongside the pixel, because browsers block things
- To track app installs and in-app events, which needs an MMP such as AppsFlyer or Adjust
- To track conversions that happen off your website, like phone orders or in-person appointments, from your CRM
- If you are not allowed to install a third-party tag, or do not have access to the page. Taboola's documentation names affiliate marketers specifically here.
That last case is the one that matters if you promote someone else's offer. You cannot put a pixel on a page you do not control, so S2S is the only route.
The postback URL
This is the format, exactly as Taboola documents it:
https://trc.taboola.com/actions-handler/log/3/s2s-action?click-id=CLICK_ID&name=EVENT_NAME&revenue=REVENUE%C2%A4cy=CURRENCY&orderid=ORDER_ID
Two required parameters:
click-id is the Taboola Click ID, which Taboola passes to your landing page. It is a case-sensitive string of roughly 120 characters. The documentation carries an explicit warning that the parameter must be named click-id exactly as shown, or no conversions will be recorded. That is one of the easiest ways to spend a week debugging nothing.
name is the event name as defined in Realize. Be careful here. Taboola means the Event Name field in the conversion settings. The Conversion Name is a different field, and people use the wrong one.
Optional but recommended: revenue, currency, quantity and orderid. Currency is a three-letter code and case-sensitive, and if you leave it out the account default is used. Taboola supports 19 currencies including USD, EUR, GBP, INR, AUD, CAD and JPY.
If you use Voluum, RedTrack, ClickBank, Ringba or Triple Whale, they have documented integrations. Use those instead of building the postback yourself.
What S2S cannot do
Three limits to know before you go S2S-only, all from Taboola's documentation.
Audience marking is limited, because only users with attributed conversions get added to audiences. Retargeting is limited for the same reason, since your retargeting pools are built from attributed conversions, not from general site engagement. And Optimize for Engagement is not supported at all, because that strategy needs engagement data S2S does not collect.
This is the real argument for running the pixel alongside S2S instead of replacing it.
Now the part that actually matters
Your tracking is installed. Here is why your reports will still confuse you.
Conversions are reported on the click date, not the sale date
Read that twice, because it is the single most misread thing in Taboola reporting. Taboola's documentation gives the example directly: if a user clicked your ad on 1 January and converted on 15 January, the conversion appears in Realize on 1 January.
The consequences are large. Yesterday's numbers are never final. A campaign day keeps accumulating conversions for up to 30 days after it ends. Whatever ROAS you see for the last few days is a floor, not a final figure.
Judging a campaign on its last three days will always make it look worse than it is, because those days have had almost no time to collect their conversions. If you are killing campaigns on recent performance, you are killing them on incomplete data.
And any spreadsheet that compares this week's spend against this week's reported conversions is comparing a complete number against an incomplete one.
The practical rule: leave your most recent 7 to 10 days out of any serious profitability judgement, and go back and re-read older days once they have matured.
The attribution windows
Click-through is up to 30 days. View-through is 24 hours.
Taboola's guidance is to keep the 30-day default unless you have a specific reason to shorten it, and if you do change it, to match it to your actual conversion cycle. Its warning is that a one-day window will miss purchases that normally take longer than a day.
Taboola uses post-click attribution, not last-click
This one surprises people and it explains a lot of arguments with clients.
Most tools you use are last-click. Only the final click before the sale gets credit. Taboola is different: it uses post-click attribution, which reports every conversion that occurs within the attribution window regardless of what other touchpoints were involved.
Taboola states the consequence plainly in its own docs: you may see higher conversion counts compared to platforms that use last-click attribution.
So when your Taboola dashboard shows more conversions than Google Analytics, neither one is broken. They are answering different questions. Taboola tells you how many sales happened after someone clicked your ad. Analytics tells you how many sales had your ad as the final touch. Native mostly starts purchase journeys and rarely finishes them, so those two numbers will always differ.
The practical answer is to decide which question you are managing to, and be consistent. If you optimise Taboola campaigns on Taboola's numbers and judge total business performance on a blended tool, both are doing the job they are good at.
A twenty minute checklist
- Get your numeric Taboola Account ID
- Install the base pixel site-wide, via platform app, GTM or manually
- Create your conversions in Realize under Tracking, using codeless where possible
- Send revenue, currency and quantity with every conversion, plus order ID on purchases
- Add S2S postback if you are an affiliate, take phone orders, or run an app
- Run the Testing Tool and confirm events are arriving before you launch
- Set your attribution window to match your real conversion cycle, and leave it at 30 days if unsure
- When you read the reports, ignore the last week for profitability decisions and remember the click-date rule
The whole job is a morning's work. It is not a consulting engagement.
One thing this will not fix
Tracking tells you what happened. It does not tell you whether the traffic was any good.
If conversions are arriving and your cost per acquisition is still wrong, the problem is upstream. The offer, the landing page, the publishers you run on, or the budget the campaign has to learn with. Perfect tracking on a badly structured campaign gives you an accurate picture of a loss.
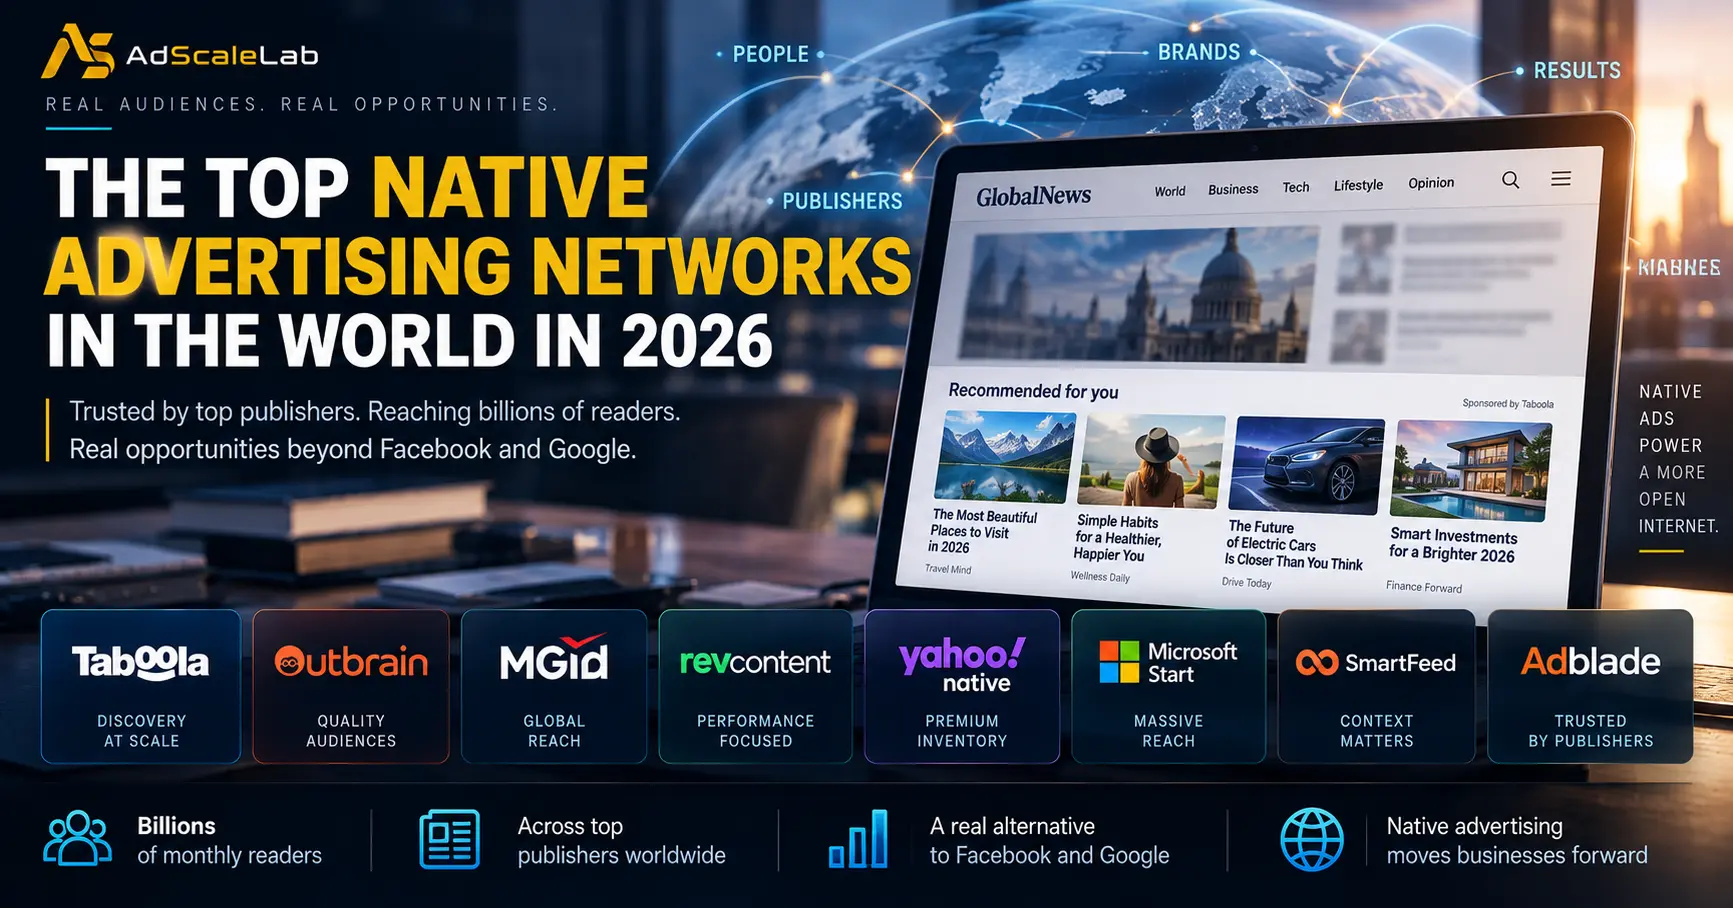
If you want the wider picture of where Taboola sits against the other native platforms, we have covered that in our guide to the top native advertising networks.
Agency ad accounts, without the wait.
Buy and top up Google, Meta, native, and more from one dashboard.
Get started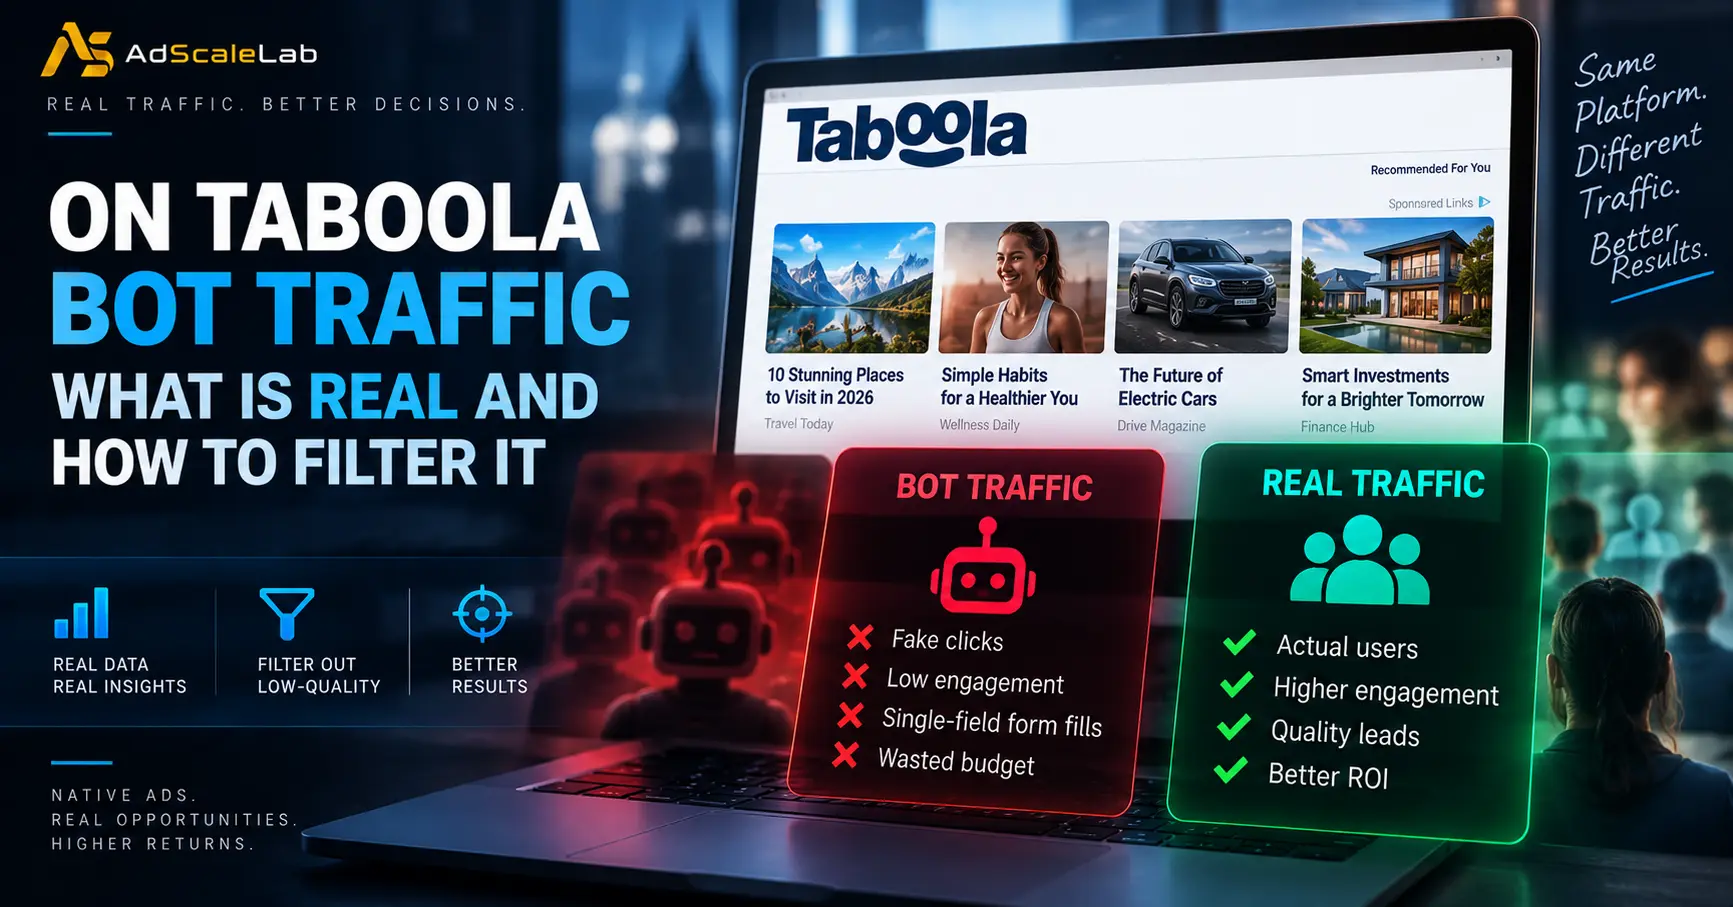
No comments yet. Be the first to comment.
Comments are open to registered AdScaleLab clients.
Sign in to comment