



Taboola Tracking Parameters That Show Which Sites Convert

Every Taboola campaign spends money across hundreds of publisher sites. Some of those sites will make you money and some will quietly eat the budget, and you cannot tell which is which unless the click carries that information into your own tracker. That is the whole job of Taboola tracking parameters, and it takes about ten minutes to set up properly.
This guide covers what each macro returns, the exact string to paste, where to paste it, and the two mistakes that break the data. Everything here comes from Taboola's own developer documentation, current as of September 2026.
What Taboola Tracking Parameters Actually Do
A URL parameter is a key and a value stuck on the end of your landing page URL, like utm_source=taboola. A macro is a placeholder in curly braces that Taboola swaps for real data at the moment your ad is served. Put the two together and a click that started on a news site arrives at your page carrying the publisher name, the campaign, the exact ad, and a unique click ID.
Your tracker or analytics tool reads those values and groups conversions by them. That is how you end up able to say "this one site has spent $400 and produced nothing" instead of guessing.
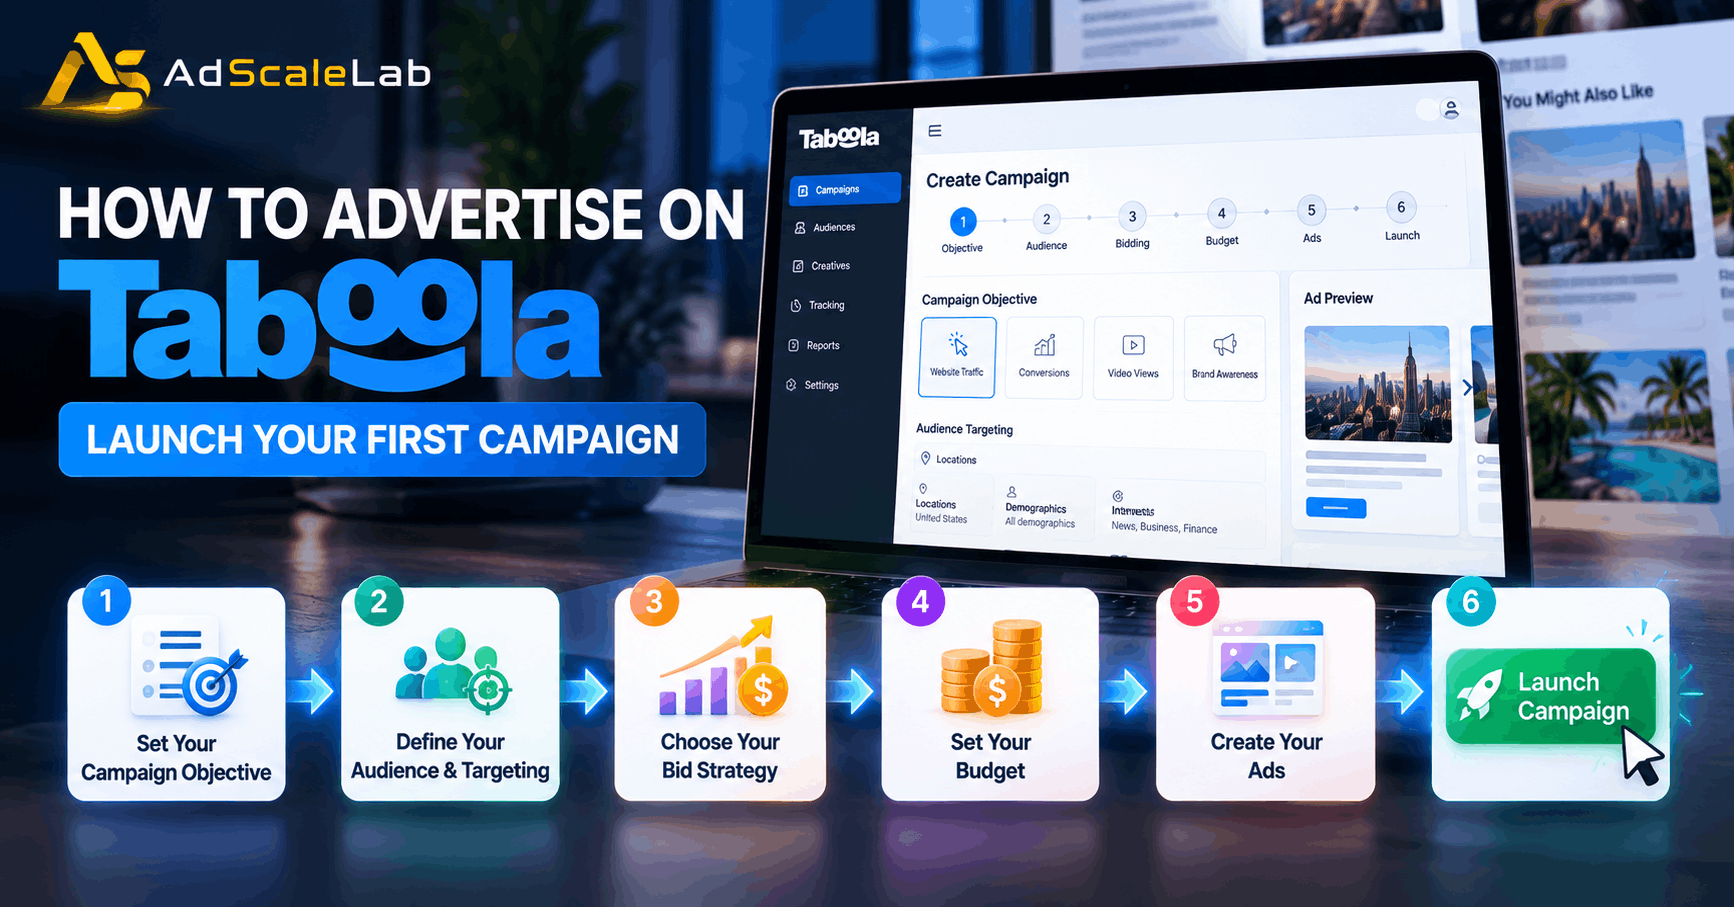
If you have not launched yet, start with our guide on how to advertise on Taboola and come back to this part before you turn the campaign on.
How To Set Up Taboola Tracking Parameters Step By Step
Step 1: Open The Tracking Code Section
Create a new campaign or edit an existing one, and scroll to the bottom of the page. The Tracking Code section is where campaign level parameters live. Taboola pre-fills it with utm_source=taboola&utm_medium=referral and you can edit that freely.
One rule that trips people up: do not start your string with a question mark or an ampersand. Taboola adds those on the back end. If you type one in, you end up with a broken URL that either drops parameters or 404s.

Step 2: Start From A Base String
If all you have is Google Analytics, this much already puts you ahead of most advertisers:
utm_source=taboola&utm_medium=referral&utm_campaign={campaign_name}&utm_content={campaign_item_id}Taboola's documentation is specific about one of these. If you use Google Analytics, keep utm_source=taboola in lower case, because utm_source is the parameter that decides whether your traffic is grouped correctly or scattered across three different source names.
The macros in curly braces fill themselves in. You never type a campaign name or an ad ID by hand.

Step 3: Add The Site Macros
These are the ones that pay for themselves. Taboola gives you four ways to identify where the click came from.
{site} returns the publisher site or app name. {site_id} returns a unique ID for that publisher. {site_domain} returns the website name or URL. {platform} returns Desktop, Mobile or Tablet.
Pass at least {site_id} and {site}. The ID is what you use for blocking and bid adjustments, because names can be ambiguous and IDs never are. The platform macro is worth adding too, since device performance on native usually splits hard and you will want to know before you start segmenting campaigns.

Step 4: Add The Campaign And Ad IDs
Site data tells you where. These tell you what.
{campaign_id} and {campaign_name} identify the campaign. {campaign_group_id} identifies the group above it if your account uses groups. {campaign_item_id} identifies the individual ad, which is the one you need when you want to know which creative produced the sale. {creative_name} and {custom_id} pass through labels you set yourself, and {title} and {thumbnail} pass the headline text and image URL.
Do not pass all of them. Every extra parameter makes the URL longer and gives you another column to maintain. Campaign, ad and site is enough for almost everyone. Add {creative_name} if you use a naming convention that encodes the angle, since that turns your creative report into something you can read at a glance.

Step 5: Leave The Click ID Alone
Taboola automatically appends tblci={click_id} to every ad URL. That value is a case-sensitive string of roughly 70 characters and it is what makes server to server conversions work, because your postback sends it back to say "this specific click converted".
You only need to touch this if your tracker demands a different parameter name, which is the one case where Taboola's docs tell you to add a custom click ID parameter yourself. Otherwise leave it. A truncated or re-encoded click ID is ignored, and every conversion tied to it disappears.
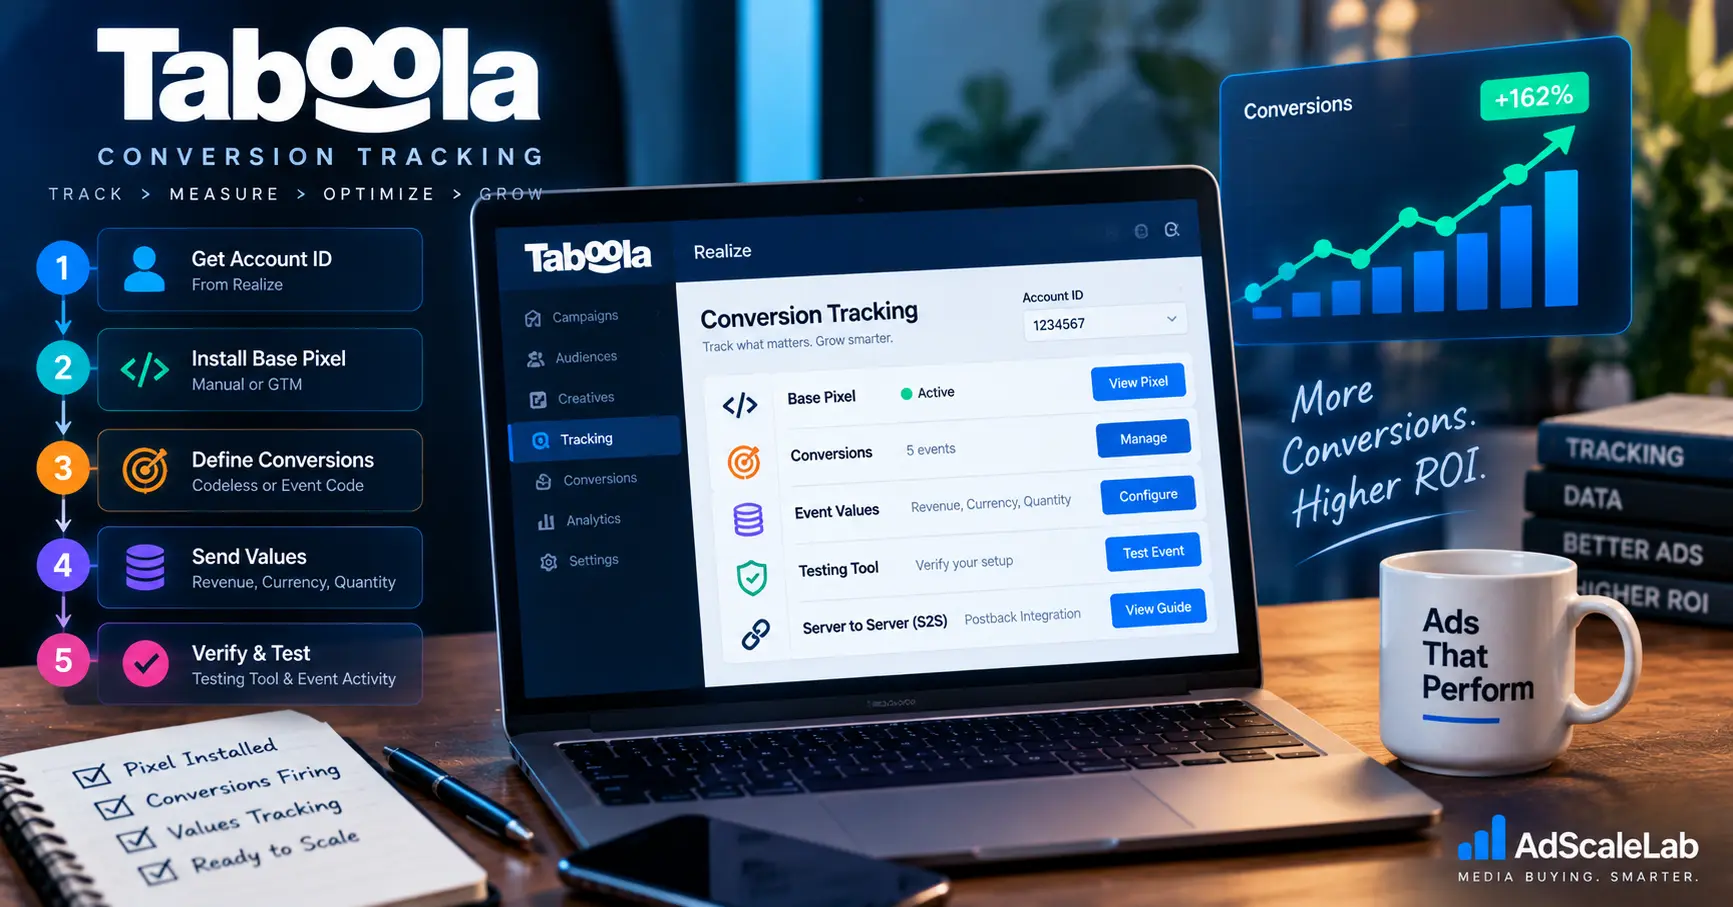
The postback side of this, including the endpoint and event names, is covered in our Taboola conversion tracking guide.

Step 6: Set Them At Campaign Level, Never At Both levels
You can add parameters at campaign level or on each individual ad URL. Campaign level is the right answer, for a reason most people find out the hard way.
Parameters set at campaign level can be edited without sending your ads back through policy review. Edit a URL at the ad level after that ad is approved and it goes back into the review queue, which means a live ad stops running while someone at Taboola looks at it again.
The second rule is harder. Never set the same parameter in both places. Taboola's documentation says outright that parameters cannot be added at the individual URL level and the campaign level at once, because it corrupts the data in your analytics platform. Use each parameter once, in one place.

Step 7: Click Your Own Ad And Check
Once the campaign is live, find your own ad and click it. Then look at the address bar on your landing page.
Every macro should have turned into a real value. If you still see {site_id} sitting there in curly braces, the macro name is wrong or it was pasted somewhere Taboola does not process. If the whole query string is missing, check for a stray question mark at the start of your tracking code.
Then open your tracker and confirm the click landed with a site ID attached. Do this before you scale, not after, because a week of traffic with broken parameters is a week you cannot analyse and cannot get back.

What To Do With The Data Once It Arrives
After 7 to 10 days you will have enough rows to act on. Sort your tracker by site ID and spend. Sites with real spend and no conversions go on the block list or get a negative bid adjustment. Sites converting below your target CPA get bid up.
Look at the platform split too. If mobile is producing clicks at half the conversion rate of desktop, that is not a reason to panic, it is usually a landing page speed problem worth fixing before you cut the traffic.
And watch for sites that send a lot of clicks with almost no time on page. That pattern is covered in our piece on Taboola bot traffic, and site level data is the only way to catch it.
Three Mistakes That Break Taboola Tracking Parameters
Putting the same parameter at both campaign and ad level is the first, and it is the most common. The data looks fine until you notice numbers that do not add up.
Editing ad level URLs on a running campaign is the second. Every edit is a fresh policy review, so a routine tracking change can take your best performing ad offline for a day.
Trusting the setup without testing it is the third. Macros are easy to mistype, and nothing in Realize warns you that {siteid} is not a real macro. It just passes the text through as written.
Get those three right and your site report becomes the most useful screen in the account. If you need an account to run this on, we supply Taboola agency accounts with your landing page checked by our compliance team before you spend anything.
Agency ad accounts, without the wait.
Buy and top up Google, Meta, native, and more from one dashboard.
Get started
No comments yet. Be the first to comment.
Comments are open to registered AdScaleLab clients.
Sign in to comment