



How to Advertise on Taboola and Launch Your First Campaign
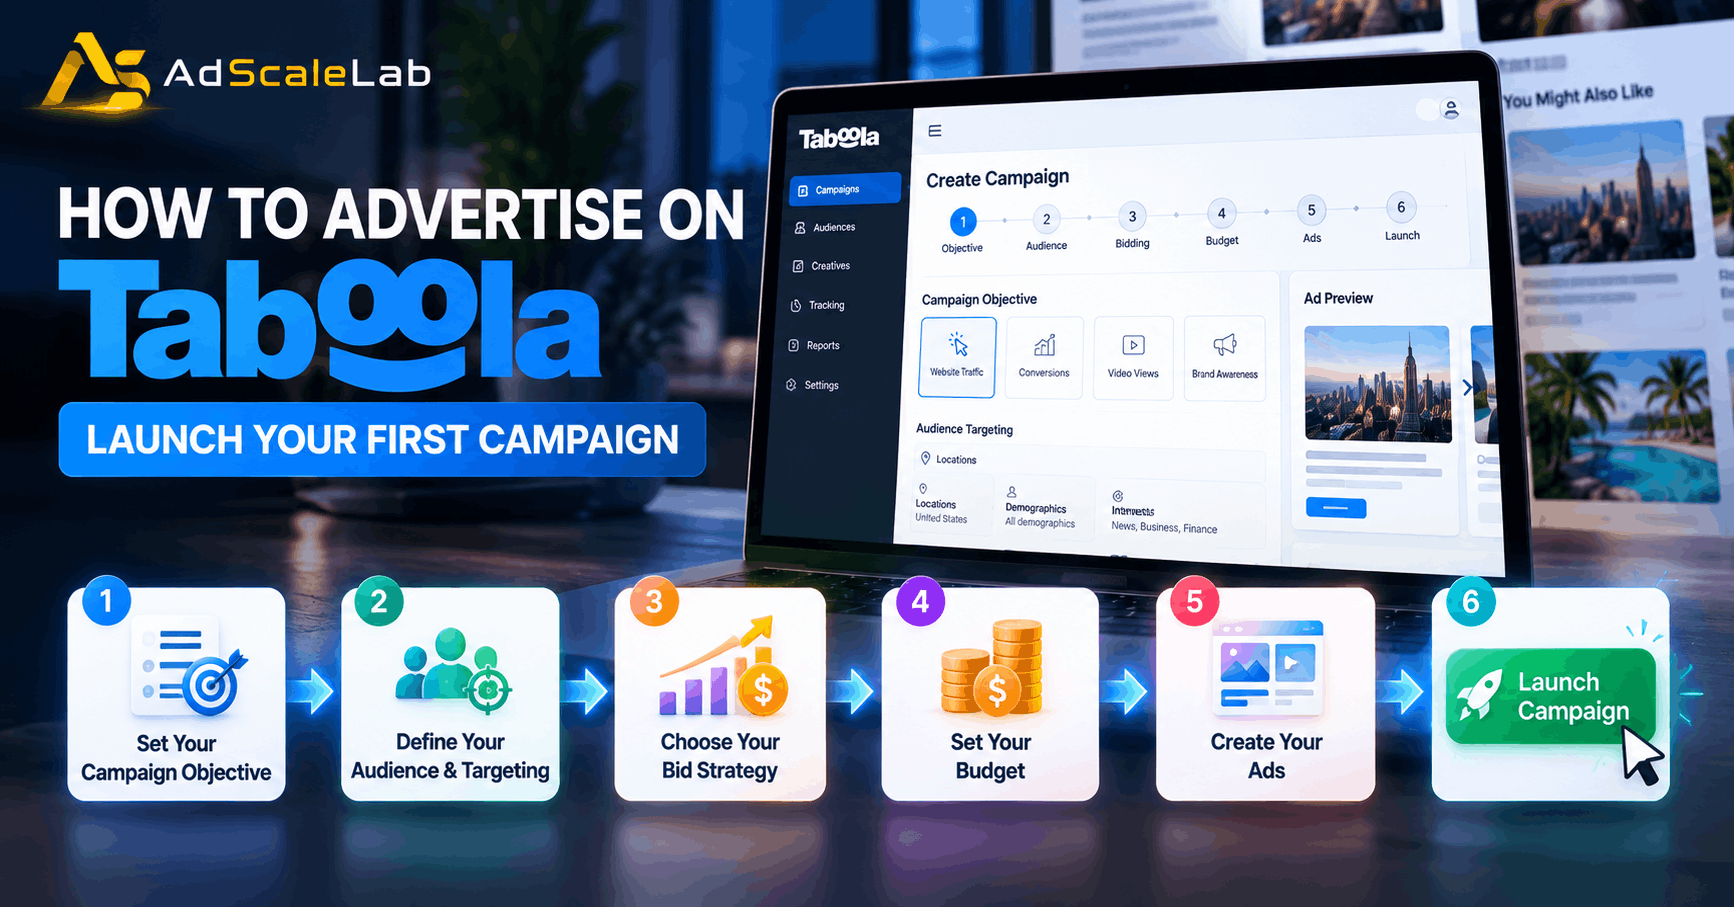
Most first Taboola campaigns fail for boring reasons. The objective was wrong, the targeting was too narrow, the budget was too small to learn anything, or someone changed the settings on day two. This guide covers how to advertise on Taboola the way Taboola itself recommends for a first campaign, one screen at a time, with an image for every step so you can follow along inside your account.
Taboola's ad platform is called Realize. Everything below happens there, and every setting and number in this guide comes from Taboola's own help centre, current as of September 2026.
What You Need Before You Open Realize
Three things need to be in place first. Skip any of them and the campaign either will not launch or will launch blind.
An account that can spend: You can sign up for Taboola self-serve, or run through an agency account. Self-serve accounts often start with tighter review and lower limits. An agency account comes with more standing from day one, which is what we supply through our Taboola agency accounts.
The Taboola pixel, installed and tested: The smartest bid strategy on Taboola learns from your conversions. No pixel means no conversions, which means the system is guessing. Our full Taboola conversion tracking guide covers the install, the S2S postback for affiliates, and the reporting rule that confuses almost everyone.
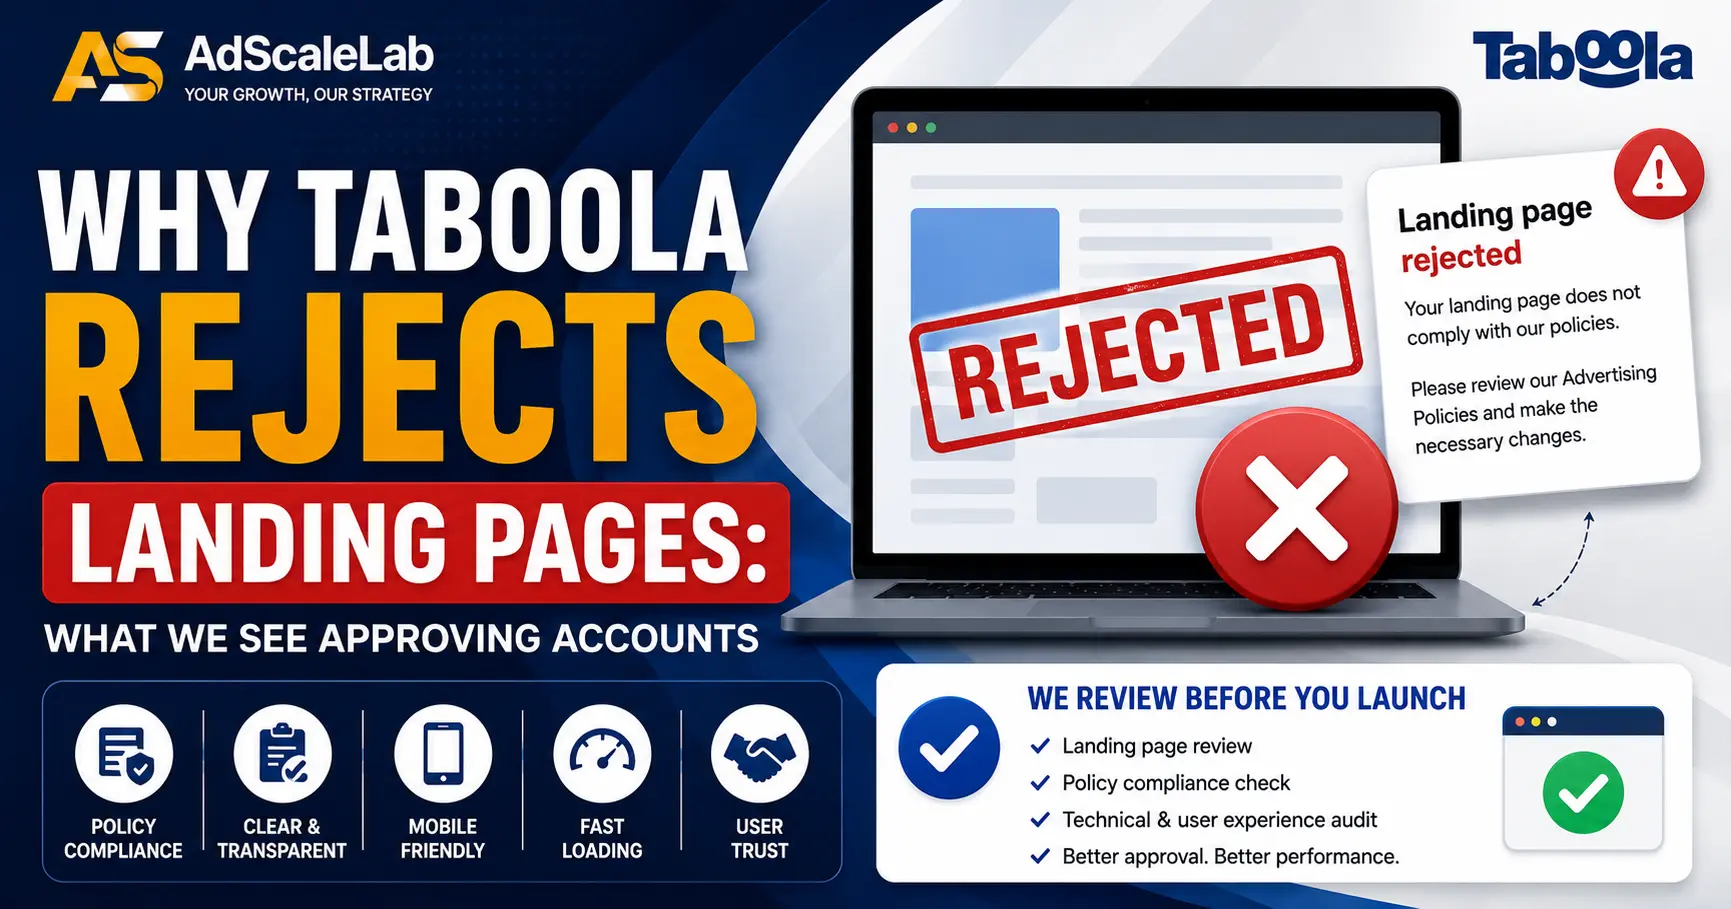
A landing page that will pass review: Taboola reviews every ad and the page behind it. Missing policy pages, broken checkouts and hard claims are the usual reasons for rejection, and we have covered those in why Taboola rejects landing pages. If you run through AdScaleLab, you can send the page through the URL Approval tool in your dashboard first, and our compliance team checks it against Taboola's rules before you spend anything.
How To Advertise On Taboola, Step By Step
A campaign in Realize is one or more ads that share the same targeting and bid. Some newer accounts also show a Campaign Group layer above campaigns. If you see it, keep every campaign inside a group on the same objective. Do not mix leads and sales in one group.
Step 1: Open A New Campaign And Set The Branding Text
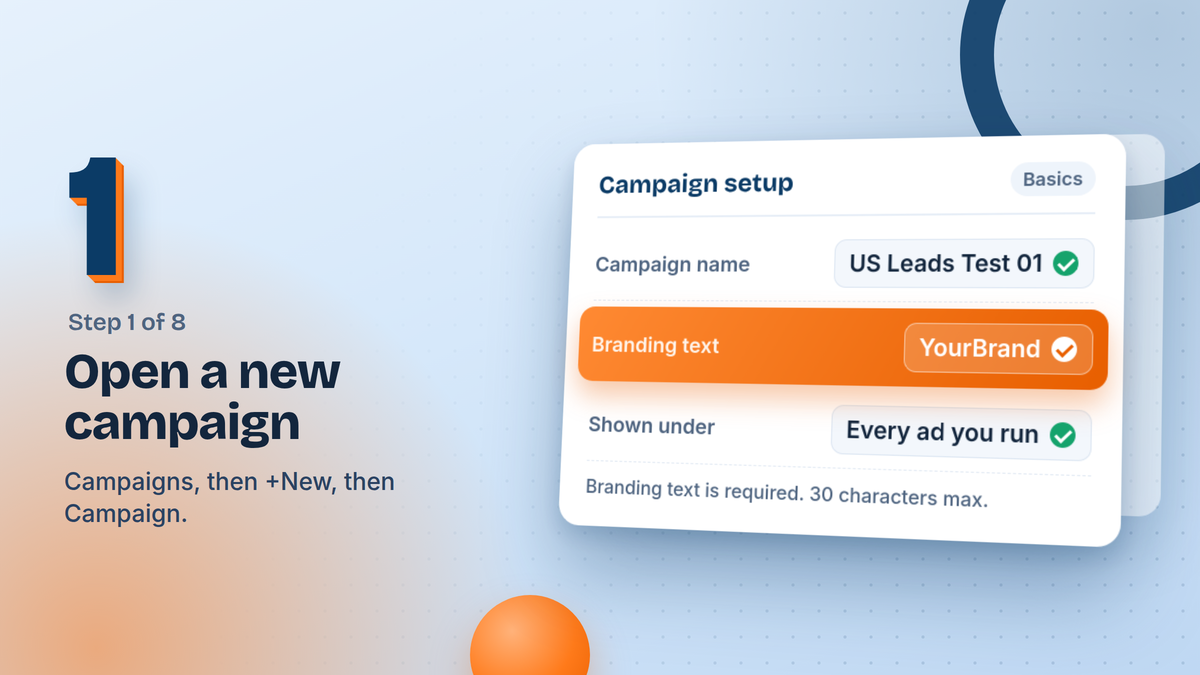
In Realize, go to Campaigns, click +New, and choose Campaign. Give it a name you will still understand in a month. Something like country, objective and test number works well, because you will end up with a lot of these.
Then fill in the branding text. This is the site or product name that shows under every ad you run, and it is a required field with a 30 character limit. Use the name people will see on your landing page. If the ad says one brand and the page says another, users bounce and reviewers notice.
Step 2: Pick One Marketing Objective
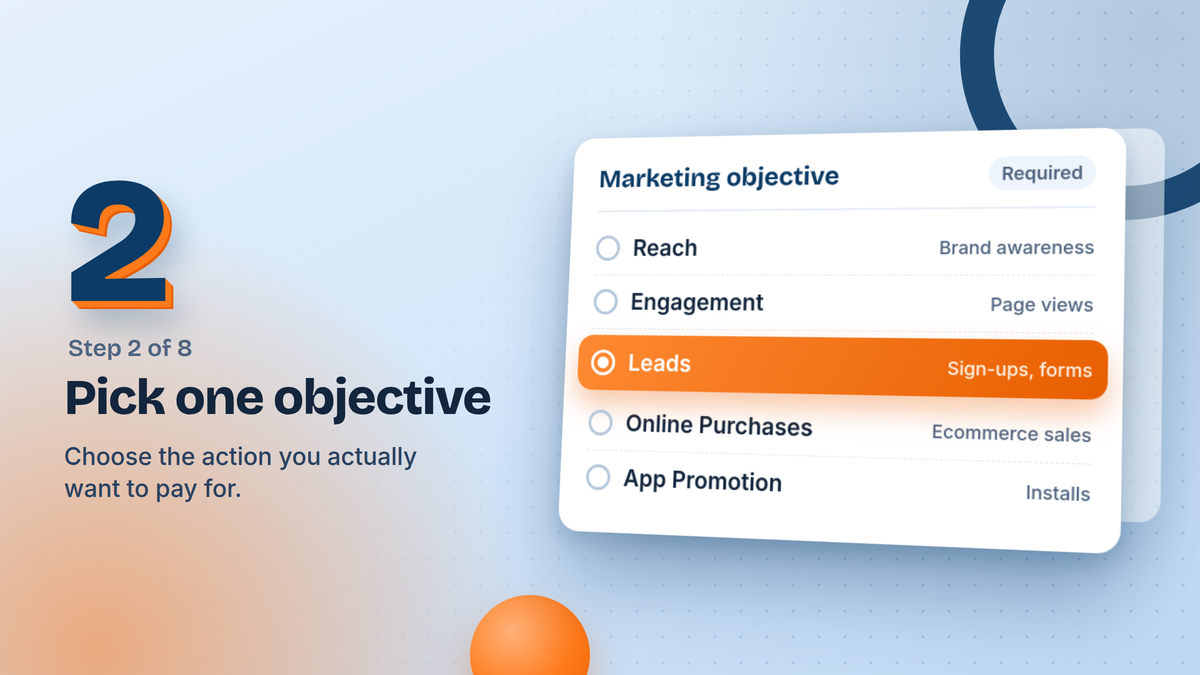
Every Realize campaign needs a marketing objective, and there are five: Reach, Engagement, Leads, Online Purchases and App Promotion. Realize combines your choice with pixel data to decide who sees the ad, so this is not a label. It changes who you reach.
Pick the action you pay for. Lead gen offers use Leads. Stores use Online Purchases. Engagement is for when page views are the goal, such as warming an audience with content. App Promotion runs on mobile only and needs a separate campaign for iOS and Android.
Step 3: Schedule It For At Least 7 To 10 Days
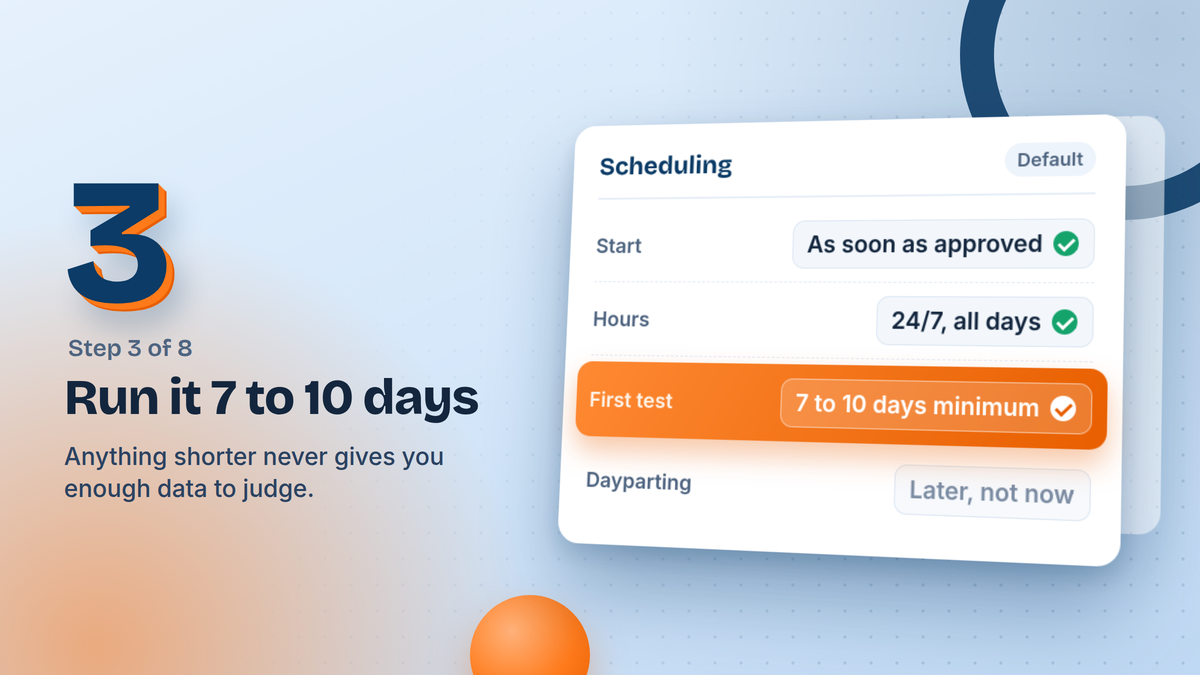
By default, a campaign starts as soon as it is approved and runs 24 hours a day, every day. Leave it that way for a first campaign. Taboola recommends running a first campaign for 7 to 10 days minimum to build a baseline, because anything shorter does not produce enough data to optimise from.
Dayparting, meaning only running certain hours, is useful later. On a first campaign it just hides data you need.
Step 4: Target Wide, Not Narrow
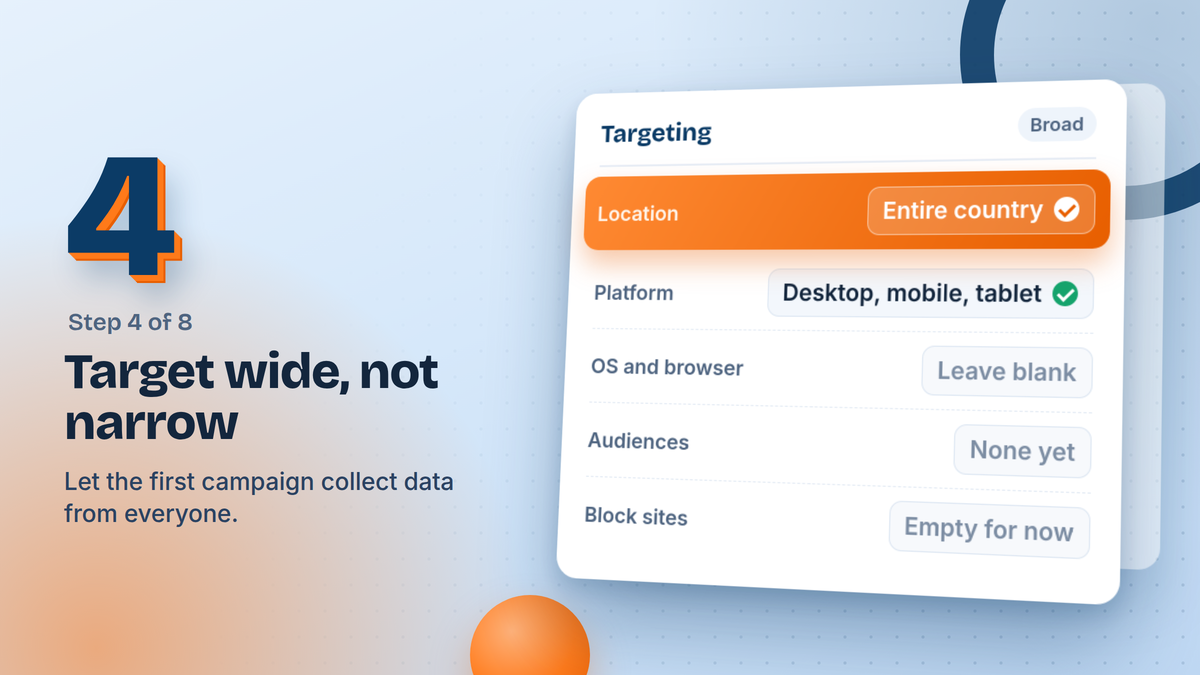
This is where most people go wrong. It feels smart to target one state, iPhones only, and a tight interest audience. On a first campaign it is the fastest way to pay more for less.
Taboola's own advice is to set location to the entire country you are testing, keep desktop, mobile and tablet all switched on, and leave connection type, operating system and browser blank. It also recommends no audience targeting on a new campaign, because audiences shrink reach, push CPC up to make up for the lost scale, and stop you seeing how your whole audience responds.
The same goes for the Block Sites and Brand Safety Pre-Bid settings under Advanced Options. Leave both clear at first. You cannot know which publishers to block until you have a site-by-site report, and you cannot get that report until the campaign has run on a wide set of sites.
Step 5: Choose A Bid Strategy
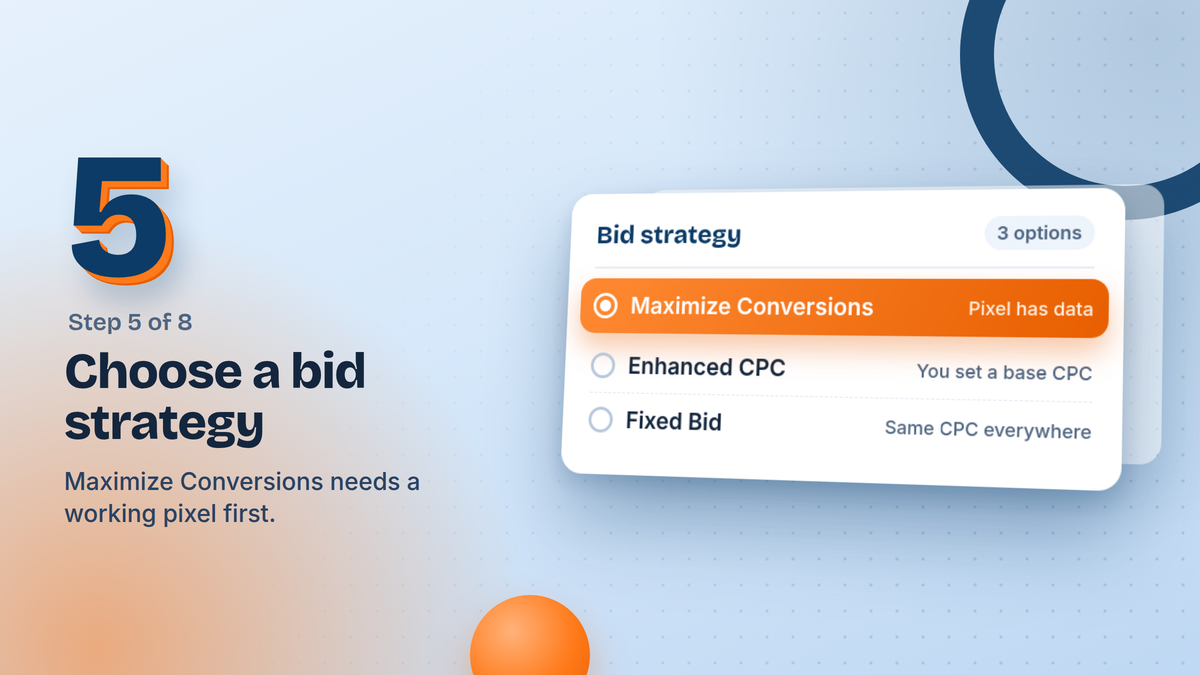
Realize runs an auction for every ad slot, and your bid strategy decides how you compete. There are three.
Maximize Conversions lets the system set bids to get the most conversions from your budget. It needs a working pixel sending conversion data, and it is the option Taboola suggests for campaigns aiming at purchases or leads.
Enhanced CPC starts from a base CPC you set and lets the system raise or lower it on each auction based on how likely a click is to convert.
Fixed Bid pays the same CPC everywhere. It gives you the most control and the least help from the algorithm.
If the pixel is live and firing, start on Maximize Conversions. If it is not, fix that before you launch rather than falling back to a manual bid.
Step 6: Size The Budget To Your CPA Goal
Budget is where good campaigns die quietly. Too little money and the algorithm never gets enough conversions to learn, so it never gets out of the learning phase.
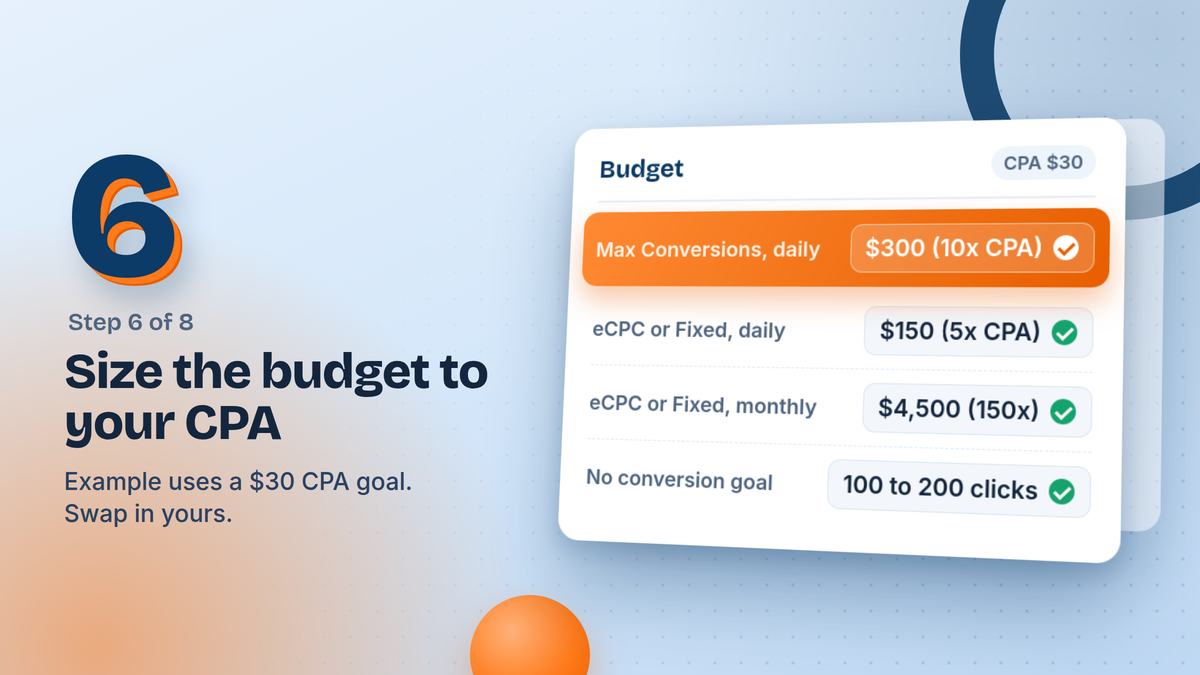
Taboola gives clear rules. On Maximize Conversions, set a daily budget of 10 times your target CPA. On Enhanced CPC or Fixed Bid, start at 5 times your CPA per day and at least 150 times your CPA per month. If you are not optimising to conversions at all, aim for 100 to 200 clicks a day, which means your bid times that number of clicks.
So with a $30 CPA goal, that is $300 a day on Maximize Conversions, or $150 a day and $4,500 a month on the other two. If those numbers are more than you can afford, the answer is not a smaller budget on the same goal. It is a cheaper conversion event, such as optimising to add-to-cart instead of purchase until you have enough volume.
Step 7: Add 3 To 10 Ads
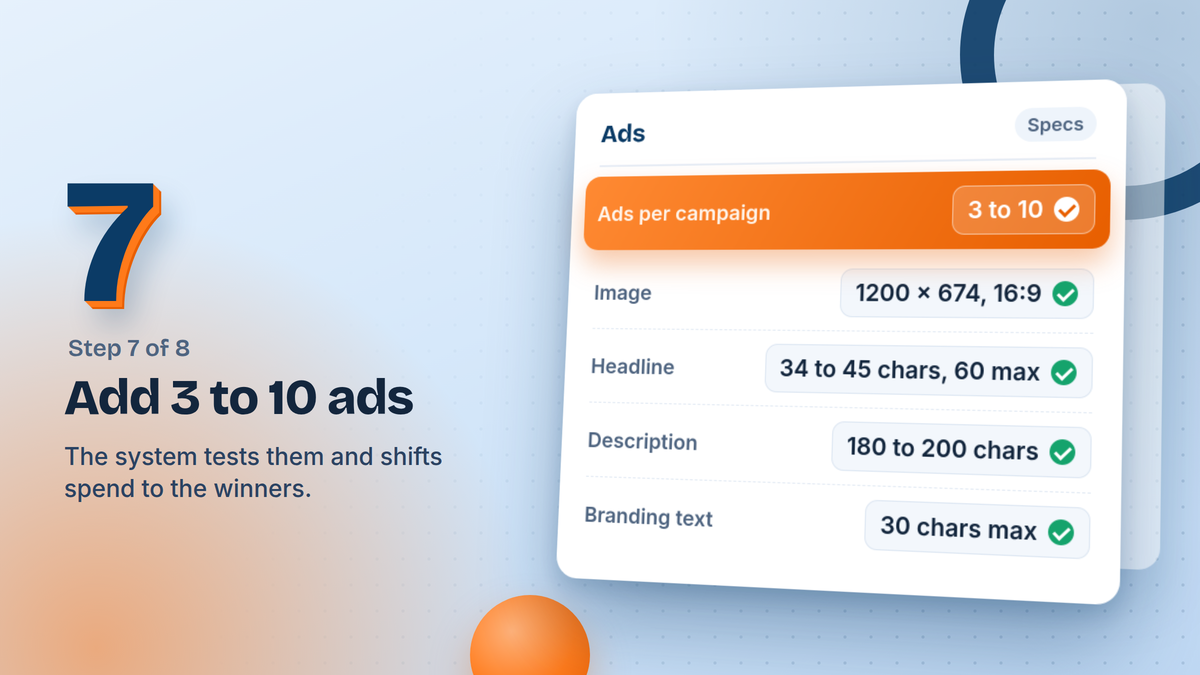
Once the campaign settings are saved, you add ads to what Realize calls the campaign inventory. Each ad needs a thumbnail, a headline and a URL. Taboola recommends 3 to 10 ads per new campaign so its system has enough to test, and it will move traffic toward whichever ones perform.
The specs to follow are a 1200 x 674 image in 16:9, a headline of 34 to 45 characters with 60 as the hard cap, and an optional description of 180 to 200 characters. Use the cropping tool when you upload, because Taboola shows each image in several aspect ratios and the automatic crop does not always keep the important part.
The easiest way to build variety is the Variations option, which pairs every image with every headline for you. What goes into those images and headlines is a subject of its own, covered in our guide to Taboola headlines and thumbnails.
Step 8: Submit, Then Leave It Alone
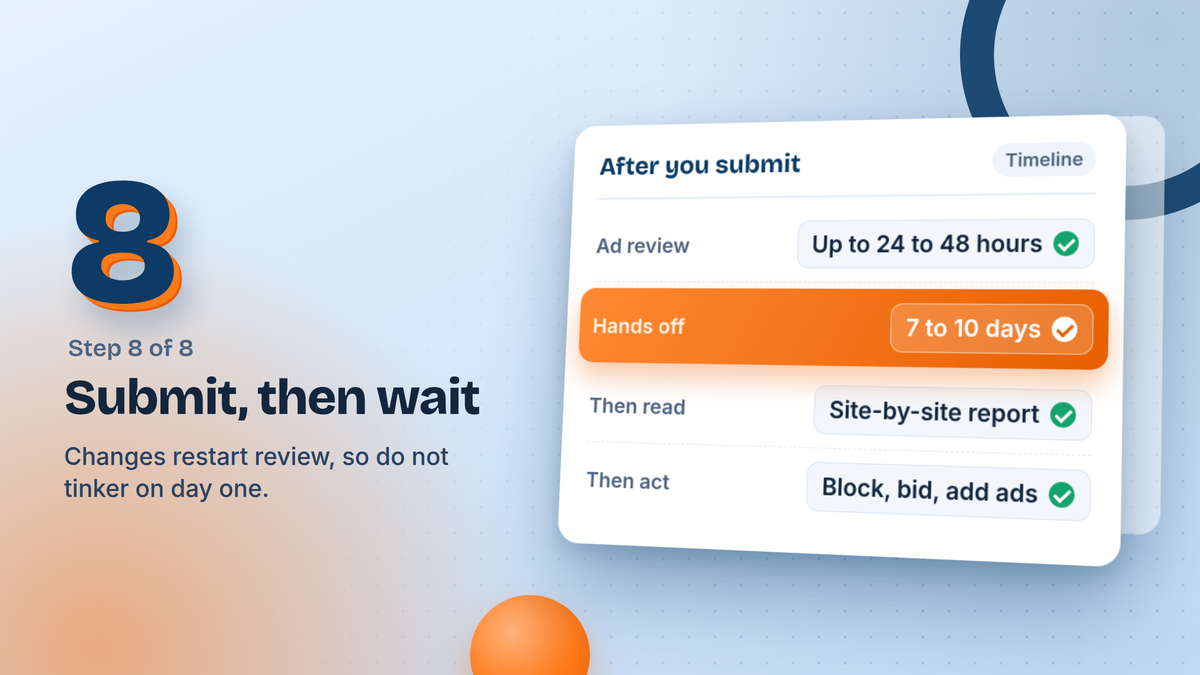
Click Continue and the campaign goes into review. Taboola says approval can take up to 24 to 48 hours. Any change you make later goes back through review too, which is one more reason not to keep editing.
Once it is live, give it the full 7 to 10 days. Do not cut the budget on day two because the CPA looks high. Taboola reports conversions against the day of the click, not the day of the sale, so recent days always look worse than they are.
What To Do After The First 10 Days
Knowing how to advertise on Taboola is really knowing what to do once the data arrives. Now you have it, and this is where the actual work starts. Open the site-by-site report and look for publishers that spent money with no conversions. Those get blocked or bid down. Publishers that convert well can get a bid boost. Ads with a low click rate get paused and replaced with new versions of whatever angle is winning.
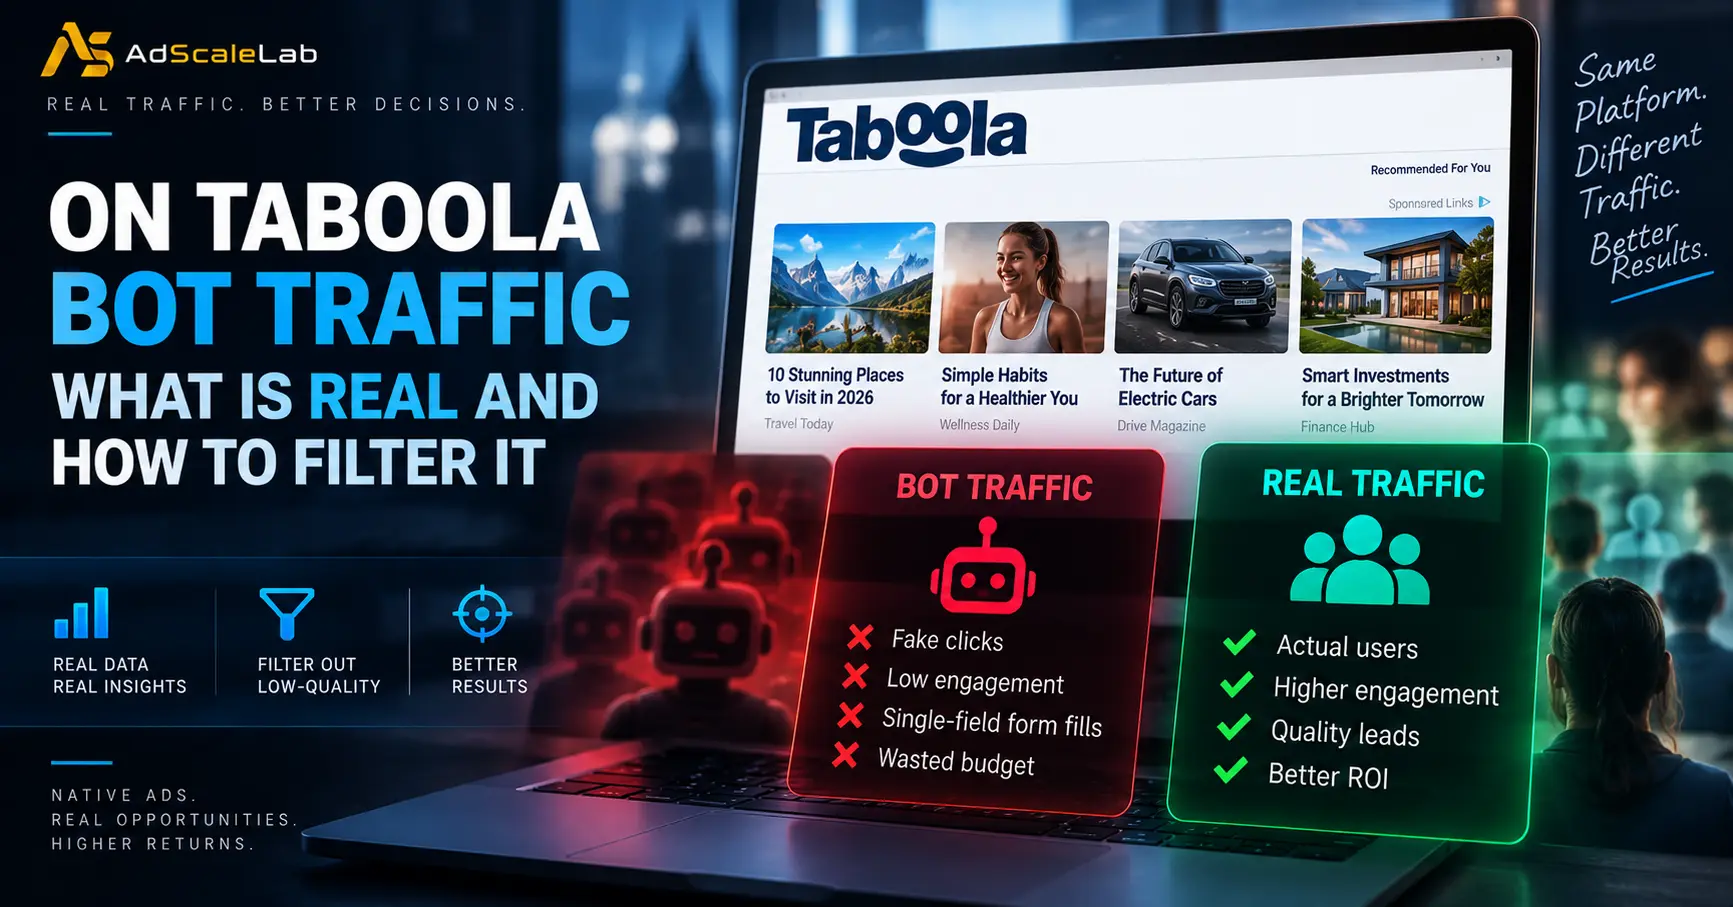
Keep an eye on traffic quality too. A big spike in clicks with no change in conversions usually means low-quality placements, which we covered in how to filter Taboola bot traffic.
Only then start narrowing. Split out the best device, test a tighter audience, or try dayparting. Each of those works far better on a campaign that already has a baseline to compare against.
Five Mistakes That Waste A First Taboola Budget
Launching without the pixel is the first. Maximize Conversions has nothing to learn from, and you have no way to tell good placements from bad.
Targeting too narrowly is the second. A small audience means higher CPCs and a report too thin to act on.
Setting the budget from what feels comfortable rather than from your CPA is the third. A $50 daily budget on a $40 CPA gives the system about one conversion a day to learn from.
Blocking sites before any data exists is the fourth. You end up blocking placements that might have been your best.
Editing every day is the fifth. Each change can send the campaign back through review and reset what the system has learned.
That is how to advertise on Taboola without burning the first budget. Get those five right and you have done most of what separates a first campaign that teaches you something from one that just spends. If you want to skip the slow start on a fresh self-serve account, you can get a Taboola agency account through AdScaleLab and have your landing page checked before launch.
Agency ad accounts, without the wait.
Buy and top up Google, Meta, native, and more from one dashboard.
Get started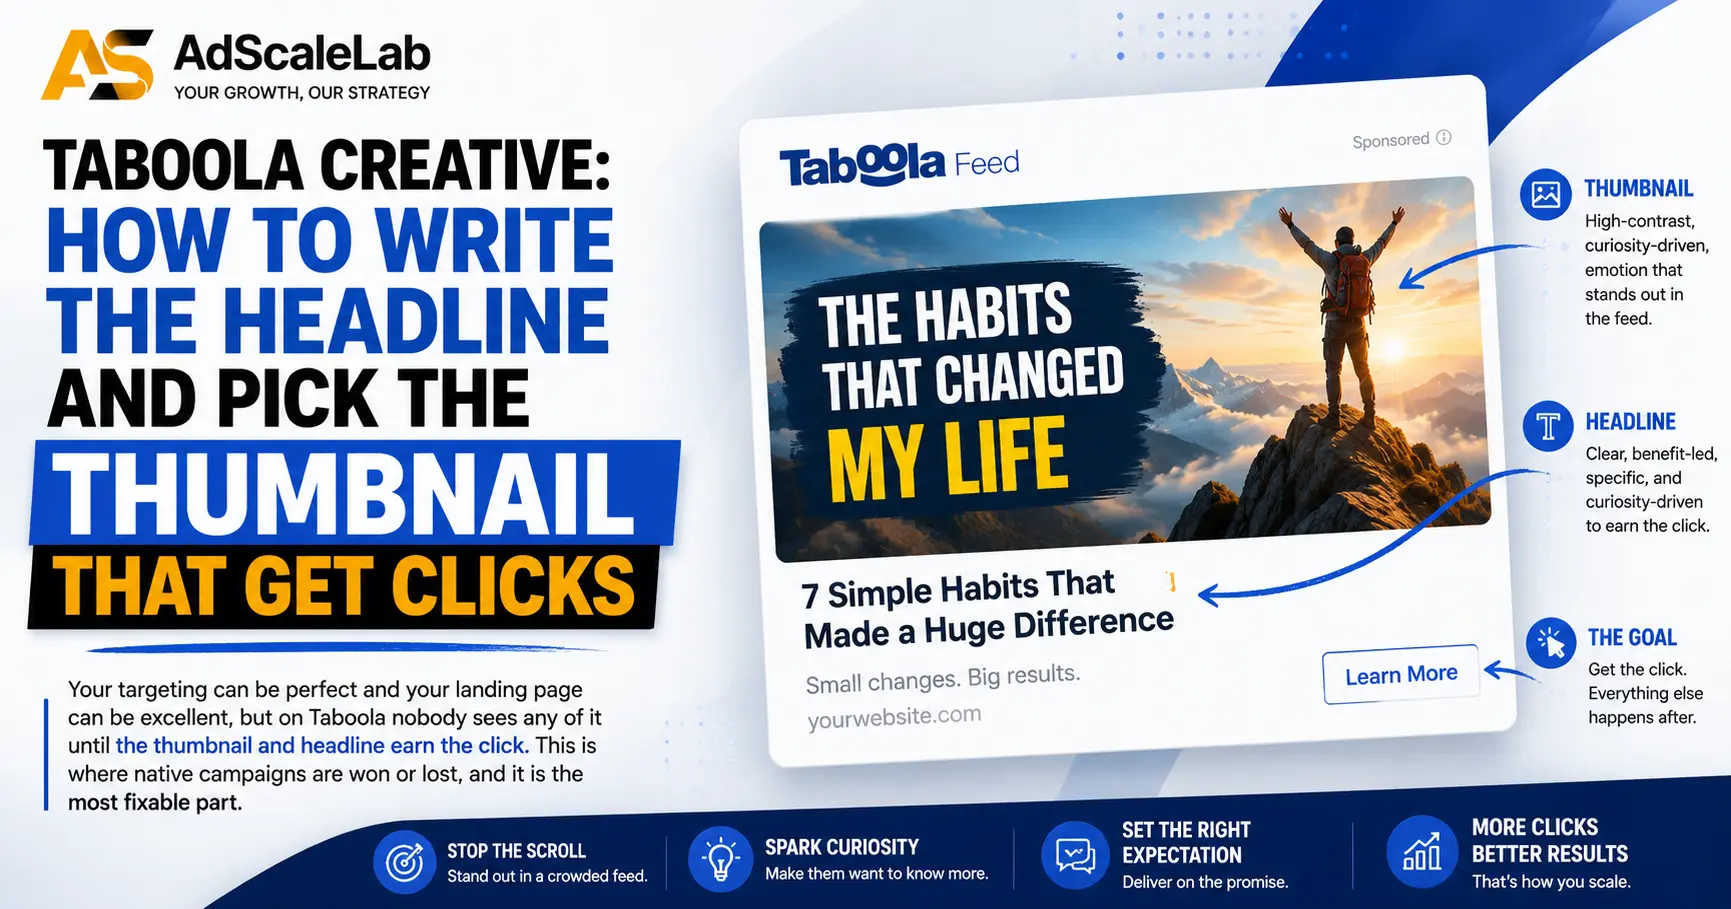
No comments yet. Be the first to comment.
Comments are open to registered AdScaleLab clients.
Sign in to comment