






How To Prepare An Outbrain Landing Page For Better Campaign Approval
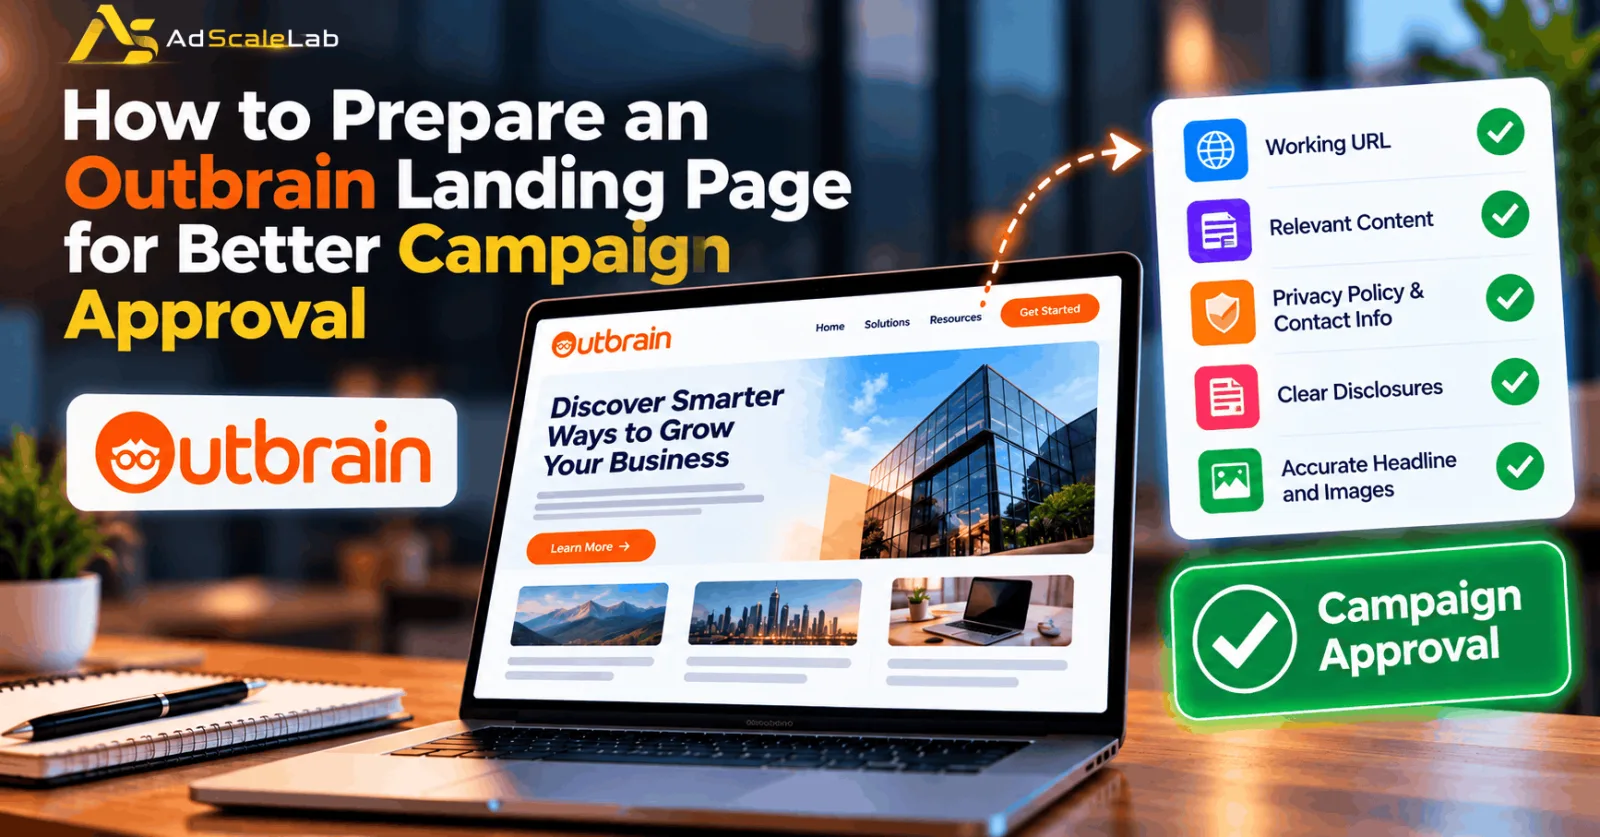
Launching a native advertising campaign involves more than writing a good headline and choosing an attractive image. The page people reach after clicking your ad also needs to work properly, match the promise made in the ad, and follow the platform's advertising requirements. If something is wrong with the destination page, your campaign may face rejection or delivery problems even when the creative looks ready.
Preparing an Outbrain landing page before submitting a campaign can help advertisers identify common problems early. These include broken URLs, missing privacy information, misleading claims, incomplete navigation, and technical issues that prevent the platform from understanding the page.
Outbrain's official advertiser documentation explains that its systems need to access and understand a landing page before it can be promoted. For example, an inaccessible destination may show an “URL Unavailable” status in the Amplify dashboard. The platform also publishes specific requirements for page metadata, disclosures, contact information, and content quality. In this guide, we will walk through eight practical steps to prepare your landing page before launching an Outbrain campaign. These checks can help reduce avoidable mistakes, although final approval remains subject to the platform's review and applicable policies.
Why Your Outbrain Landing Page Matters For Campaign Approval
A landing page is the destination users visit after clicking an advertisement. It could be a product page, a blog post, an article, a lead generation page, or another permitted page type. Outbrain's current advertiser guidelines recognize several acceptable page types, including articles, blog posts, product pages, homepages, videos, and advertorials with the required disclosures. However, an acceptable page format does not automatically mean the content will be approved. The page must also meet the relevant quality, technical, and advertising standards.
Consider a simple example. An advertiser creates a headline promising a guide to choosing a marketing platform. The ad image looks professional, but the destination page returns an error or discusses a completely different subject. The campaign now has both a technical or relevance problem, depending on what the reviewer finds. Another advertiser may have a working page with useful content but no privacy policy or a contact section containing no real contact details. That page can still fail to meet the applicable requirements.
This is why landing-page preparation should happen before the campaign is submitted, rather than only after an ad is rejected.
How to Prepare an Outbrain Landing Page: Step-by-Step Guide
Step 1: Check That Your Landing Page URL Works Properly
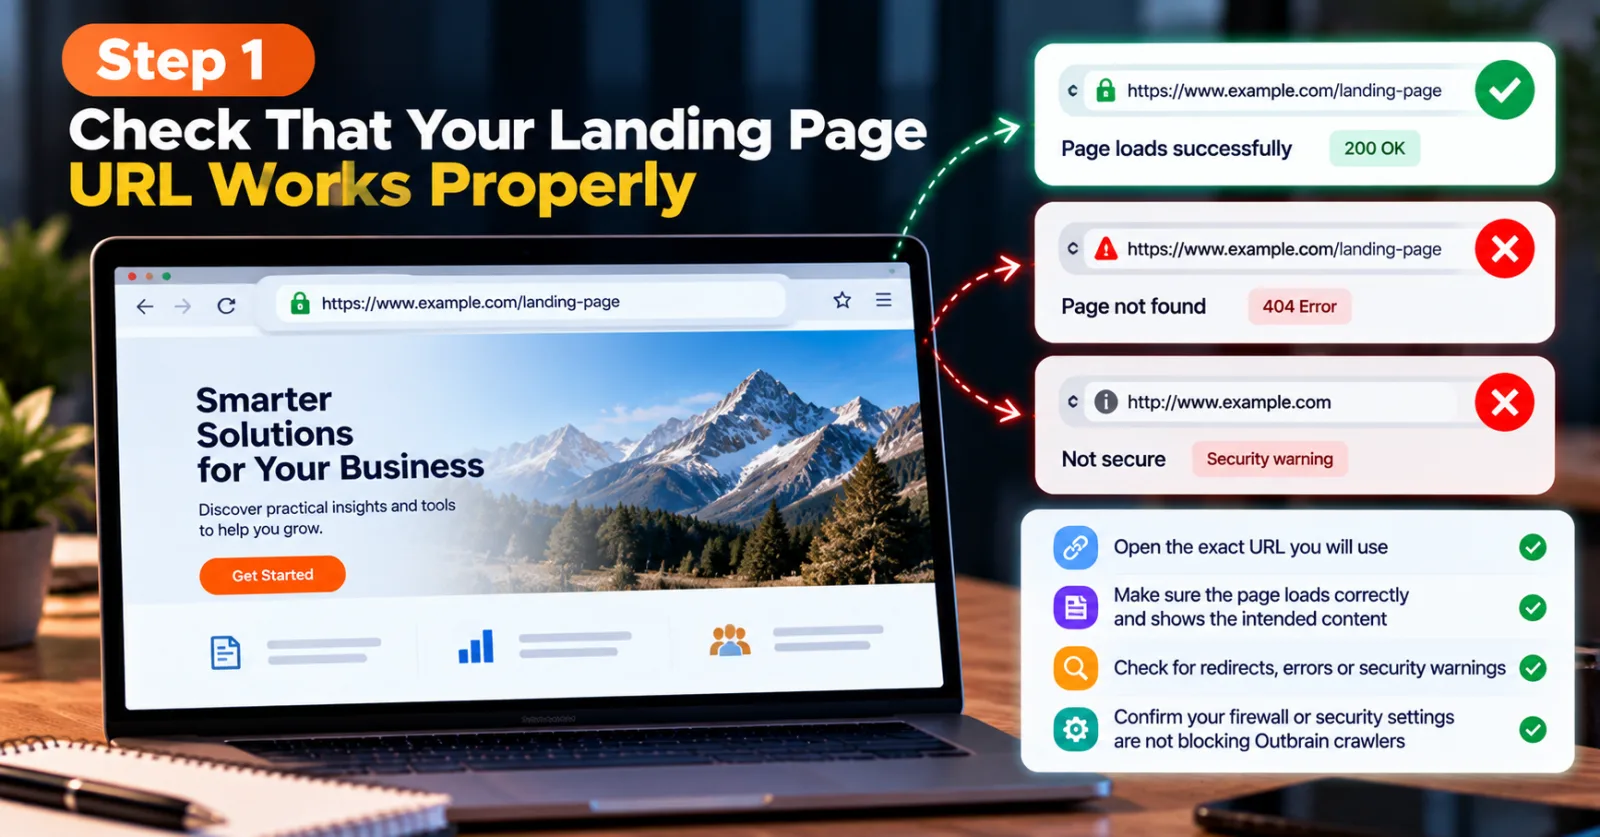
Start by opening the exact URL you intend to use in your Outbrain campaign. Check that it loads successfully, displays the intended content, and does not lead to a broken page, an unexpected redirect, or a browser security warning.
Outbrain's landing-page compatibility documentation specifies that the destination must be a live page returning a successful HTTP status, such as 200. The documentation also says advertisers should allow-list the platform's relevant IP addresses and user agents so its crawlers can access the site. Do not test only the homepage if your ad links to a product page or article. Check the actual destination URL, including any tracking parameters you plan to use. If your site uses a CDN, firewall, security plugin, or bot protection service, confirm that it is not blocking legitimate review crawlers.
If the page is unavailable, fix the technical issue before resubmitting the campaign. Repeatedly submitting the same broken URL will not solve the underlying problem.
Step 2: Make Sure The Page Title And Metadata Are Accurate
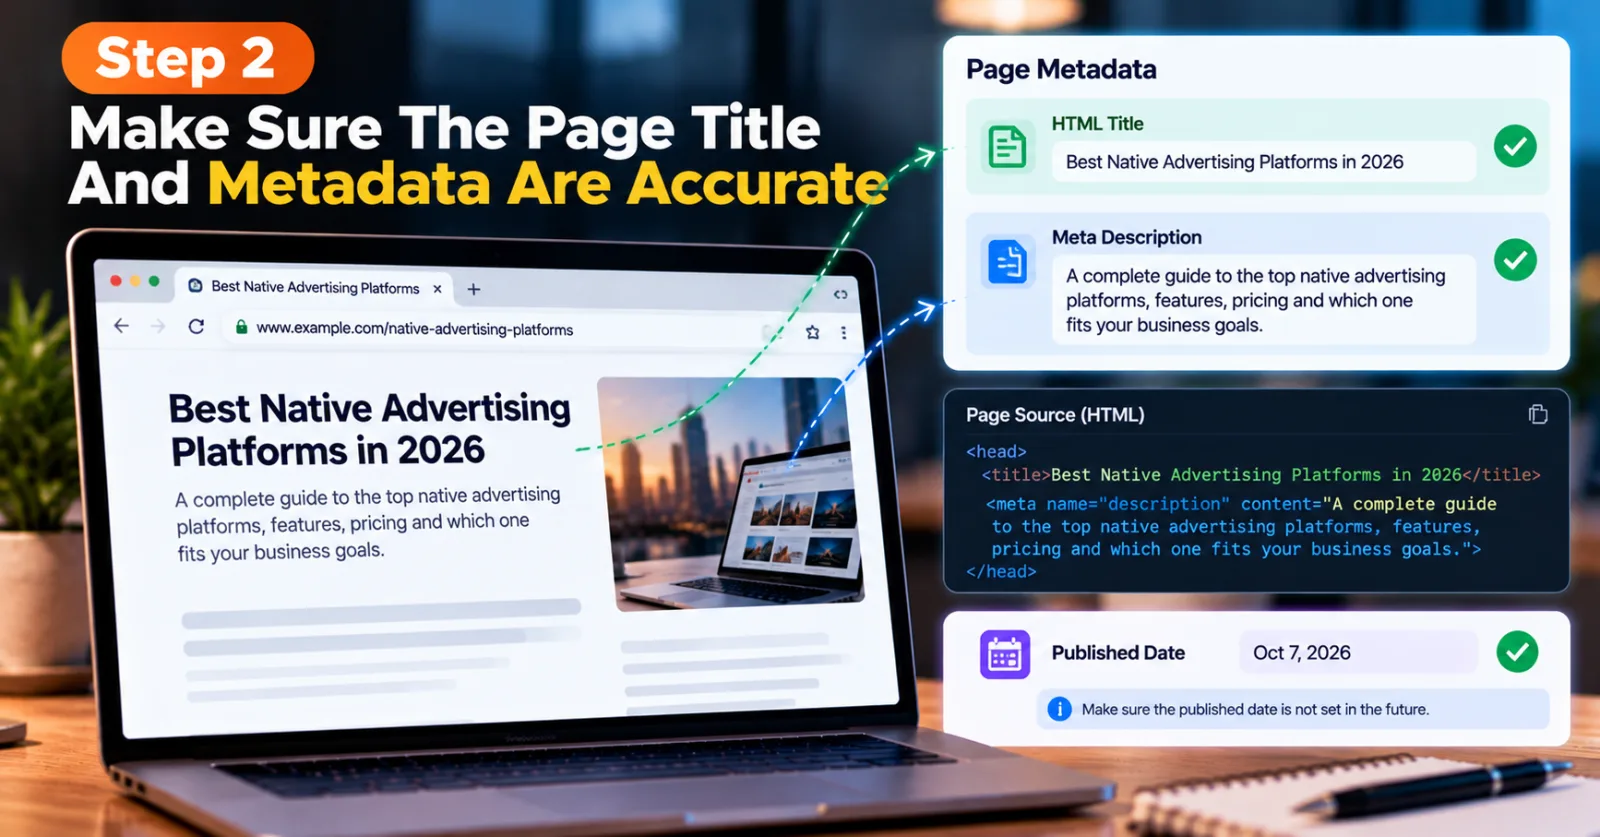
Your landing page should clearly explain what it contains, both to visitors and to the systems that inspect the page. Outbrain's official compatibility guide identifies the HTML title metadata as a basic requirement. It also recommends accurate, detailed title and description metadata because its systems use this information to understand the page's language and category. The guide warns advertisers to check that the published date is not accidentally set in the future.
For example, a page about choosing native advertising platforms should have a title that reflects that subject. A vague or unrelated title can make the destination harder to classify correctly. If you use WordPress, check the SEO title and meta description through your SEO plugin, but remember that these fields are not necessarily the same as the page's HTML title and visible headline. Review the actual published page source when necessary.
Keep the metadata consistent with the article's subject. Do not use an exaggerated title to attract clicks if the page does not support the claim.
Step 3: Match The Landing Page With Your Ad Headline And Image
The promise made in the ad should match what visitors find after clicking. This is one of the most important checks before submitting a native advertising campaign.
Suppose your Outbrain headline says, “How to Reduce Customer Acquisition Costs.” The destination page should provide useful information about customer acquisition costs, rather than redirecting readers to an unrelated product page or a generic homepage. The image should also represent the content accurately. Avoid using a dramatic image that implies a result the article does not deliver. Outbrain's official rejection guidance identifies misleading headlines and landing-page elements among the reasons content may be rejected.
Read the headline, description, and landing page together. Ask whether a visitor would receive what the ad promised. If the answer is no, revise the ad or the page before launch.

Step 4: Add the Required Privacy Policy and Contact Information
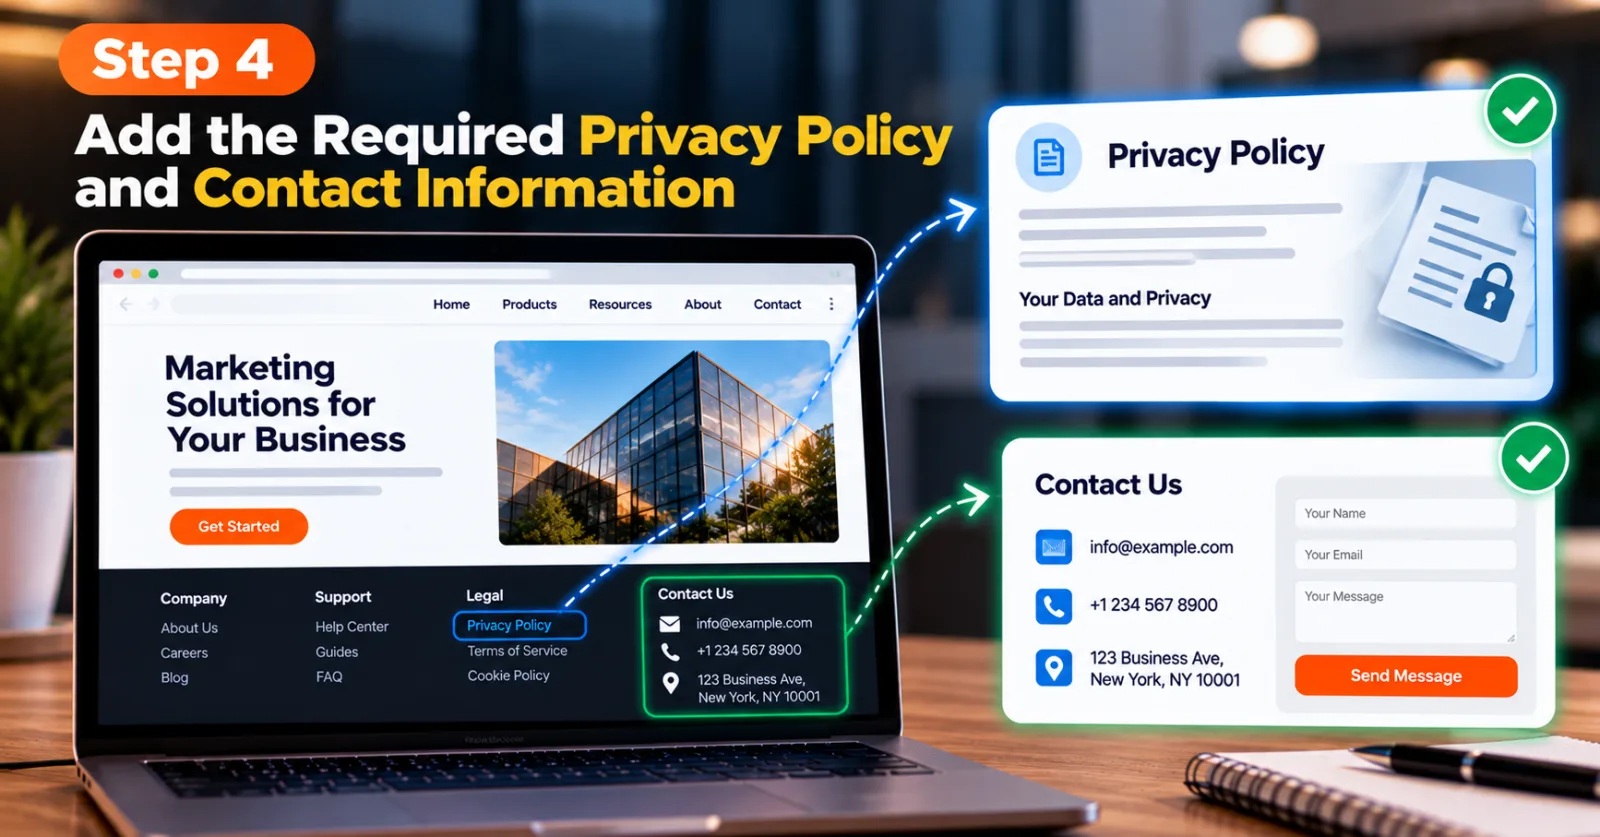
Before submitting your Outbrain landing page, check that visitors can find your privacy policy and genuine contact information. Outbrain's advertiser guidelines require a privacy policy link and a Contact Us section containing an actual email address, phone number, or physical address. An empty form that does not provide real contact information is not sufficient. Financial landing pages must include an actual physical address under the published guidelines.
Place these links somewhere visitors can find easily, usually in the footer or main navigation. Open each link and confirm that it leads to the correct page. A visible privacy policy link that returns a 404 error does not solve the problem.
The privacy policy should accurately describe your website's data practices. If you collect form submissions, email addresses, or other personal information, make sure your disclosures and handling practices reflect what actually happens. Do not add placeholder contact details simply to complete a checklist. The information should be genuine and relevant to the business operating the page.
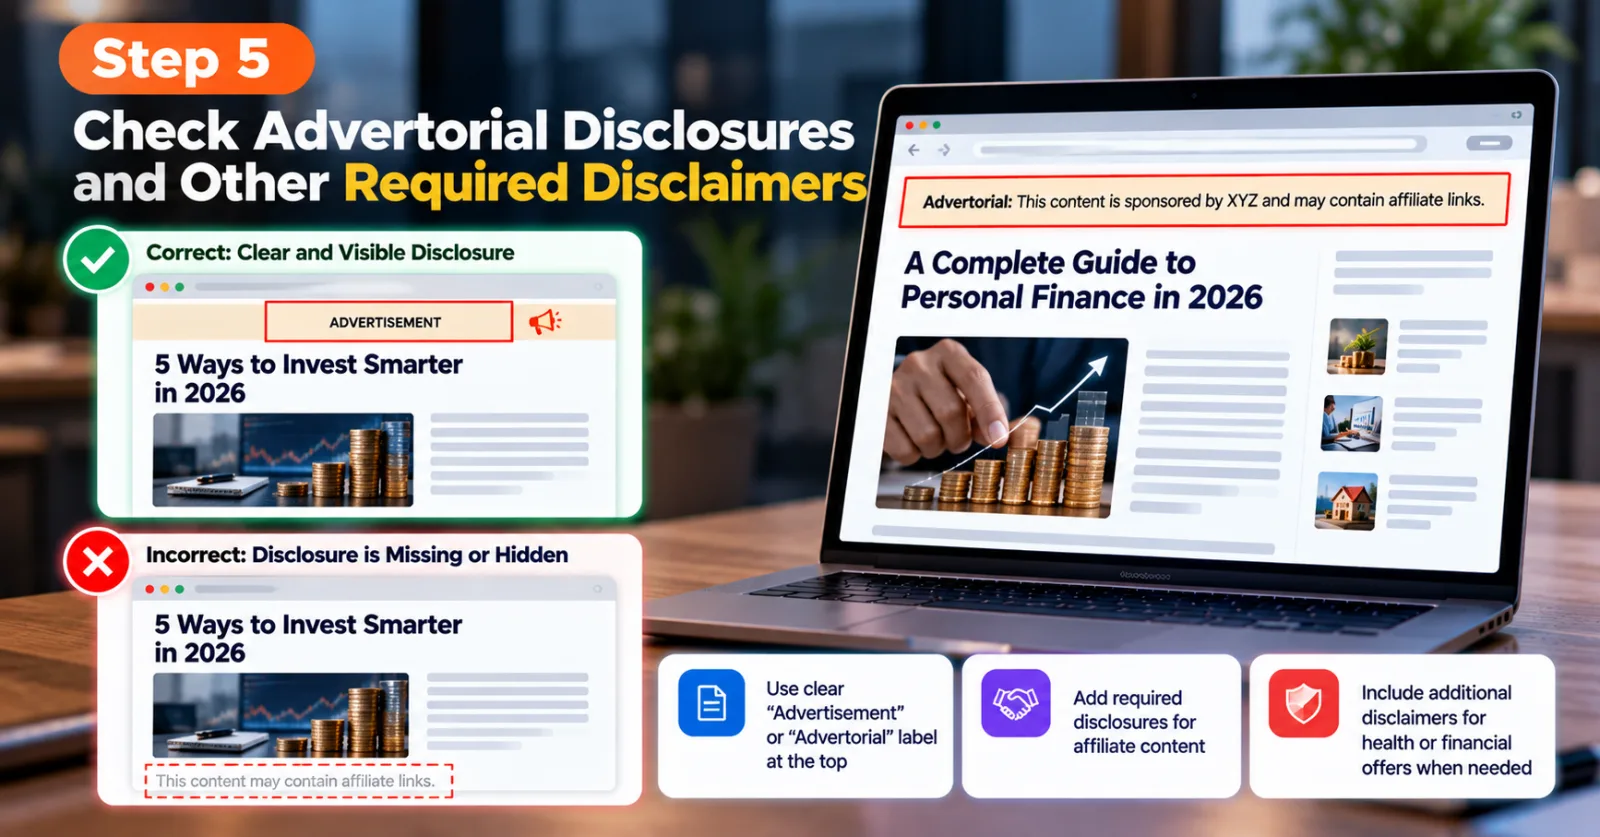
Step 5: Check Advertorial Disclosures and Other Required Disclaimers
If your landing page is sponsored editorial content or an advertorial, make the commercial nature of the content clear to readers. Outbrain's guidelines require applicable pages to display an “Advertisement” or “Advertorial” disclosure prominently at the top, using readable text. The platform also requires affiliate marketing sites to disclose relevant financial relationships. Certain health and finance-related advertorials may need additional disclaimers.
Do not hide disclosures in tiny text at the bottom of the page when the policy requires them to be visible near the top. Readers should be able to understand the nature of the content without searching for it. For health or financial offers, review the specific requirements that apply to the product, the target market, and the claims on the page. A generic disclaimer does not make a prohibited offer acceptable, and it cannot replace accurate, responsible content.
If the page does not require an advertorial disclosure, do not add one in a way that creates confusion. Apply the rule that fits the actual content and campaign.
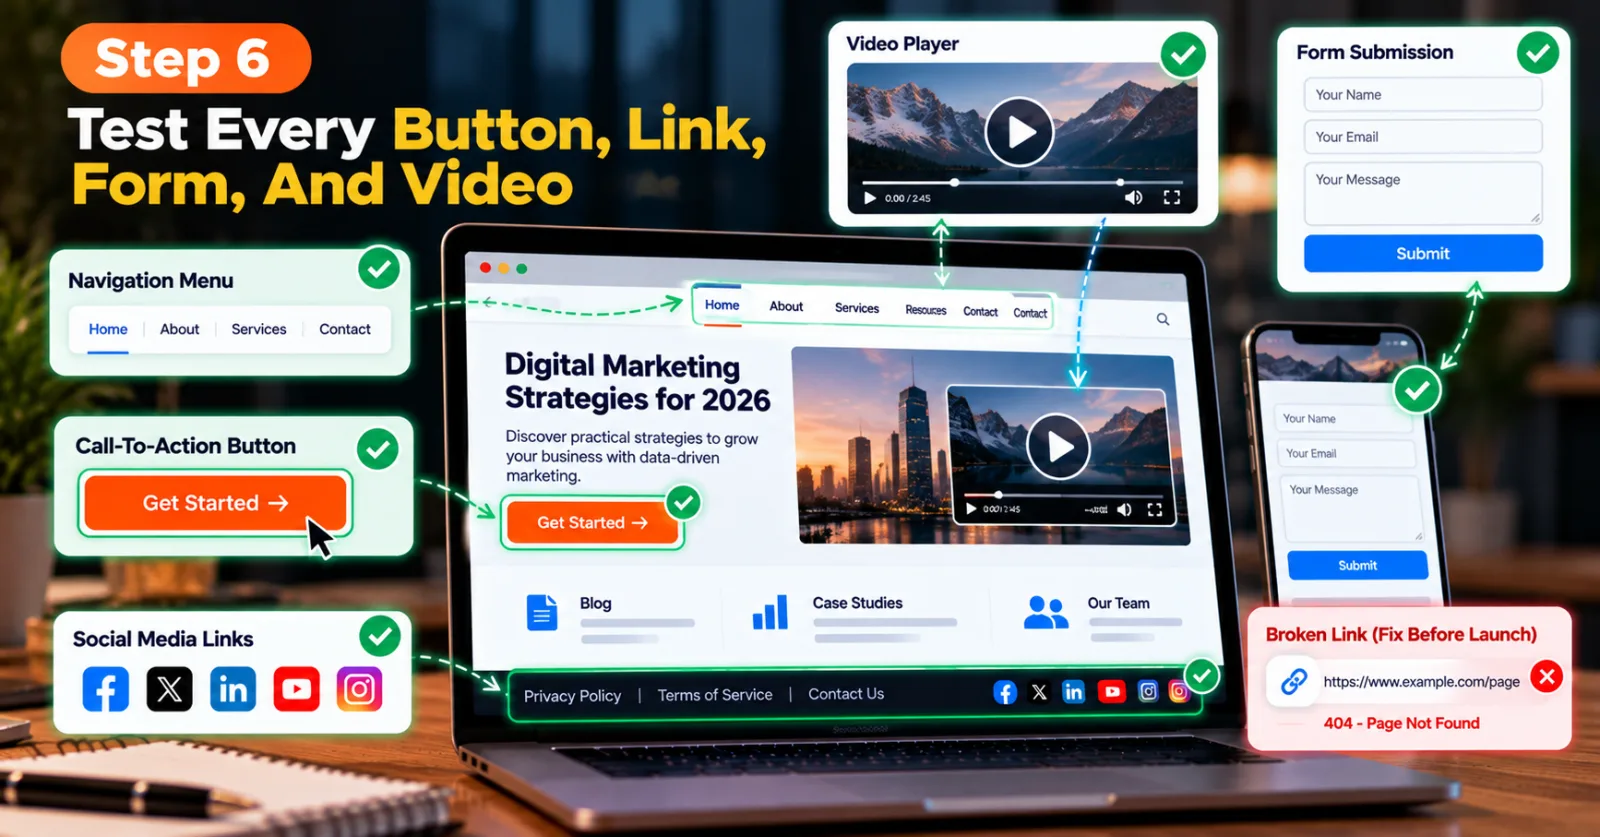
Step 6: Test Every Button, Link, Form, And Video
A landing page may look complete but still contain broken elements. Before submitting your campaign, click through the page as a real visitor would. Test the main call-to-action, navigation menu, privacy policy, contact link, social media icons, and any buttons that lead to another page. Confirm that each element works and reaches the destination its label promises.
Outbrain's rejection documentation identifies misleading or nonfunctional navigation as a potential reason for rejection. Its content-review guidance also says that social and brand-partner icons should link to relevant pages. If a landing page contains video, the player must provide proper controls, including play, pause, volume adjustment, and a way to see the video duration.
Test the page on both desktop and mobile. A button that works on a large screen but is hidden behind an overlay on a phone can create a poor user experience. If the page contains a form, submit a test entry where appropriate and verify that the expected confirmation or next step appears. Remove dead links, broken buttons, and placeholder elements before launching the campaign.
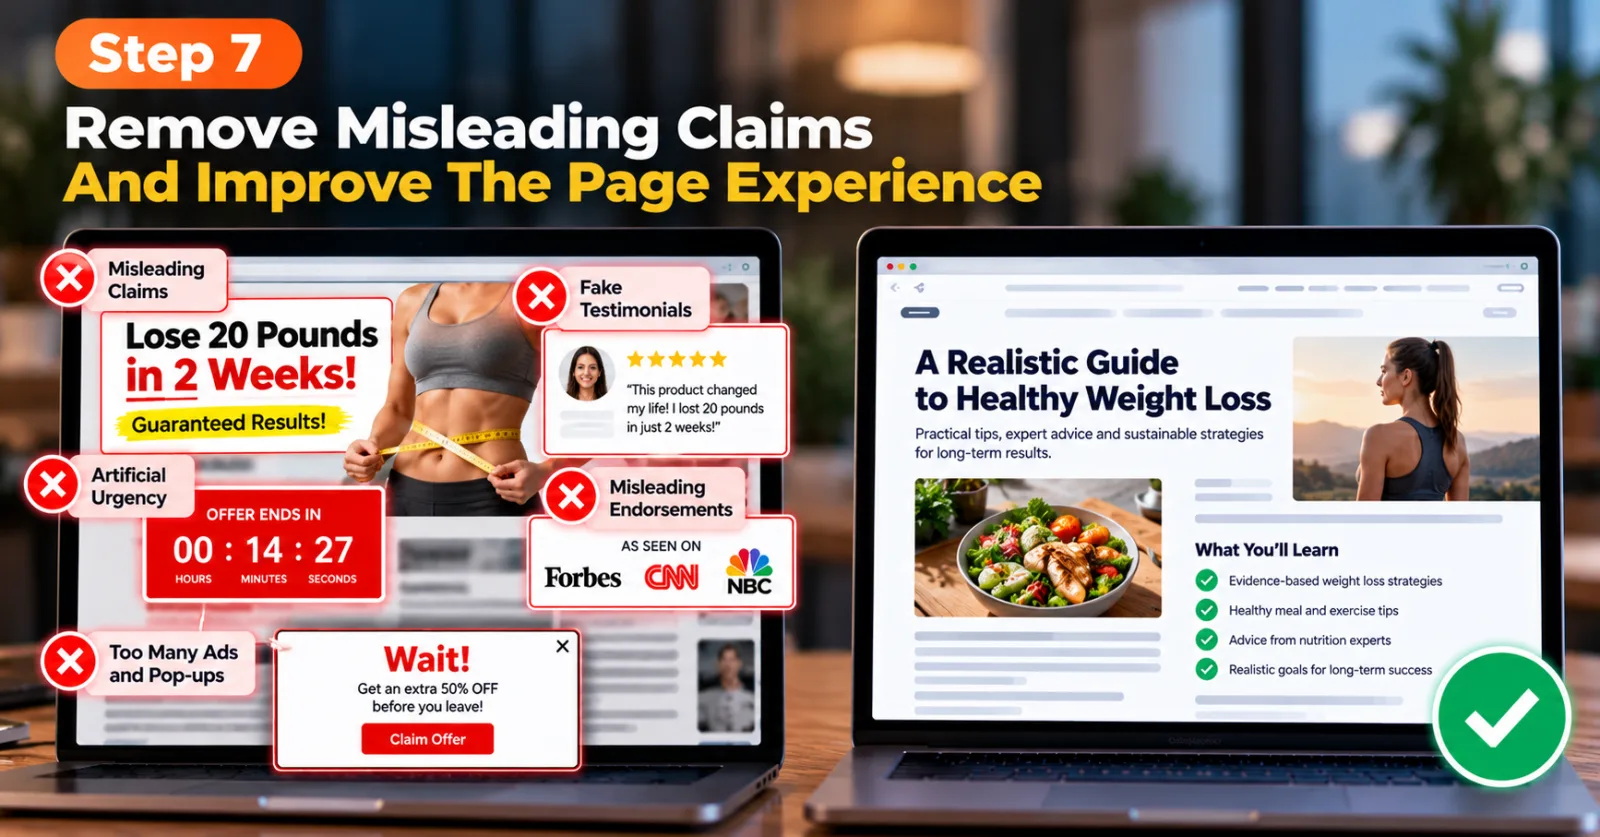
Step 7: Remove Misleading Claims And Improve The Page Experience
Review the page for claims that cannot be supported, artificial urgency, fake testimonials, misleading endorsements, and other elements that could confuse visitors.
Outbrain's official guidelines specifically prohibit misleading techniques such as fake comments, fake testimonials, fake earned-media logos, unsupported claims, and countdown clocks that falsely suggest an offer is about to expire. The guidelines also set limits on ad density and automatic ad refreshing to protect the browsing experience.
If you advertise a product with a specific benefit, make sure the page provides accurate information supporting that claim. Do not promise guaranteed results if the outcome depends on factors outside your control. The page should also be readable. Use clear headings, reasonable spacing, and a layout that makes the main information easy to find. Avoid excessive pop-ups or overlays that prevent users from reading the content or closing the window. A professional page does not need to be complicated. It needs to be honest, functional, relevant, and easy to use.
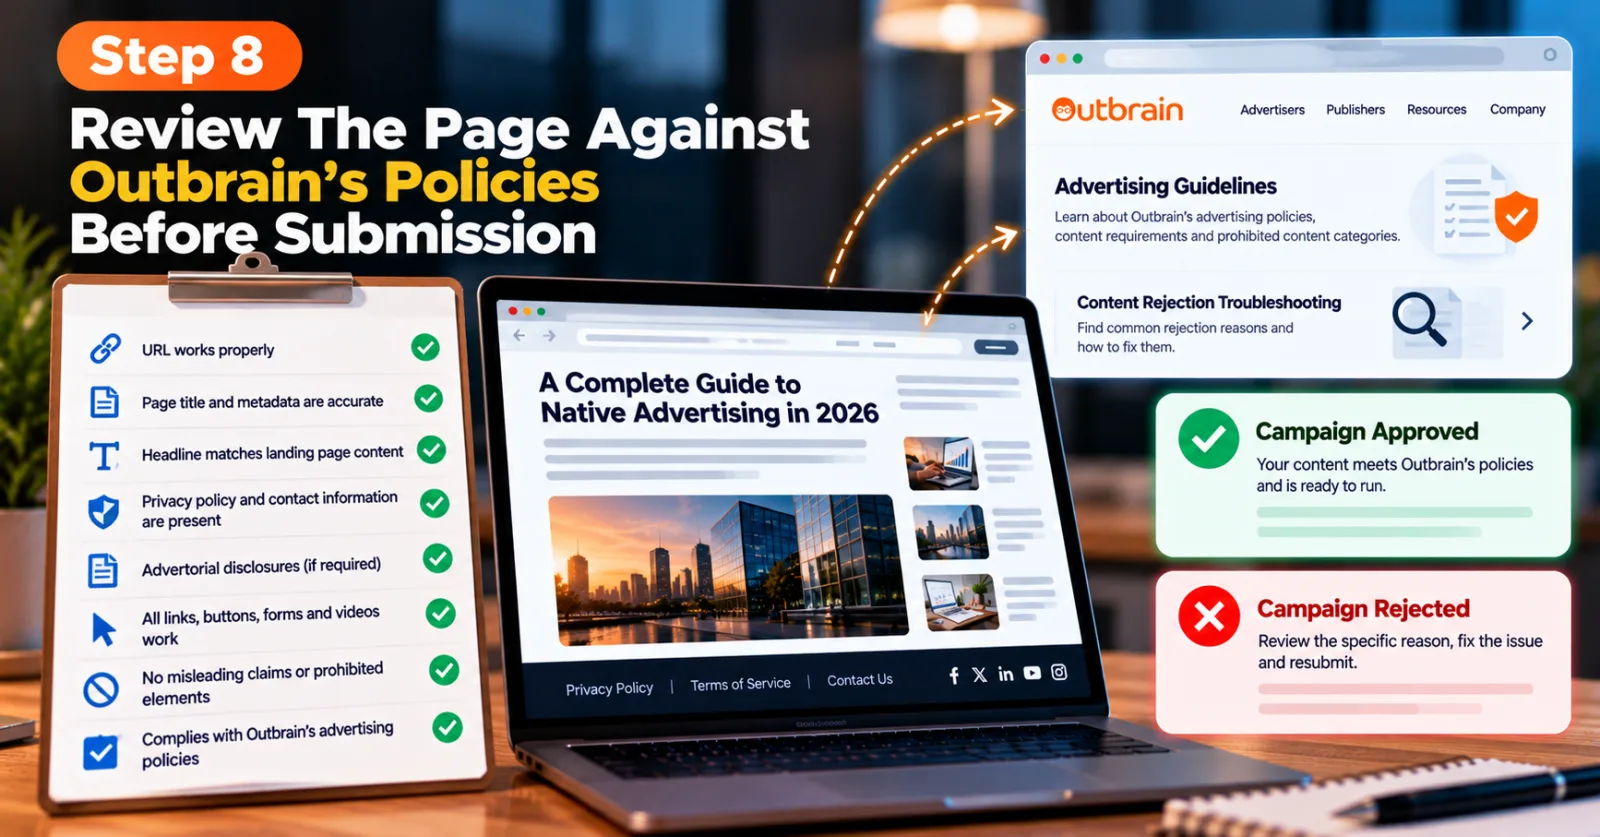
Step 8: Review The Page Against Outbrain's Policies Before Submission
Once the technical and content checks are complete, review the landing page and the ad as one package. Confirm that the URL works, metadata is accurate, the headline matches the destination, required disclosures are visible, contact and privacy links function, and the page complies with the applicable advertising policies. Check whether the offer belongs to a restricted or prohibited category before spending time preparing the campaign.
Outbrain publishes a detailed advertising guidelines page and a content rejection troubleshooting guide that explain policy requirements and common rejection reasons. Use these official documents as your final reference because requirements can vary by content category and target market.
After submitting, monitor the campaign's status in the relevant dashboard. If the content is rejected, read the specific reason and correct the underlying issue before resubmitting. Some policy violations cannot be resolved simply by editing the page, so check the rejection guidance or contact your account representative when necessary.
Common Outbrain Landing Page Mistakes To Avoid
One common mistake is assuming that a page is ready because it opens in a browser. The platform's crawlers also need to access the page and understand its metadata. A site that blocks those crawlers may encounter URL availability problems even when it works for a human visitor. Another mistake is focusing on the ad creative while ignoring the destination. An attractive image and a strong headline cannot compensate for a broken landing page, missing required information, or a misleading offer.
Advertisers should also avoid treating every rejection as a technical issue. Some rejections concern prohibited offers or claims that cannot be fixed through a small page edit. The appropriate response depends on the specific reason Outbrain provides. Finally, do not assume that approval is permanent. Outbrain's current advertiser guidelines state that content can be rejected or blocked even after launch if it compromises user experience or platform standards. Keep the page functional and compliant after the campaign goes live.
How Landing-Page Preparation Fits Into Your Native Advertising Workflow
Landing-page approval is one part of a wider campaign process. The creative, headline, destination, tracking setup, and offer all need to work together. If you are also preparing campaigns on other native advertising platforms, you can read AdScaleLab's guide to MediaGo Approval Copilot for creative reviews to understand how creative-review issues can be monitored. For MediaGo-specific destination checks, see the MediaGo URL pre-approval tool guide.
These tools and guides address different stages of campaign preparation. Outbrain's own landing-page documentation should remain the primary reference for Outbrain-specific requirements, while other platform guides can help you build a consistent internal quality-check process.
Agency ad accounts, without the wait.
Buy and top up Google, Meta, native, and more from one dashboard.
Get started

No comments yet. Be the first to comment.
Comments are open to registered AdScaleLab clients.
Sign in to comment